
How to build a Garage Recording Studio?
Published on August 12, 2026
Reading time: 5min30
By Lucas Medus - Studio & Acoustics Expert at Red House
Sommaire
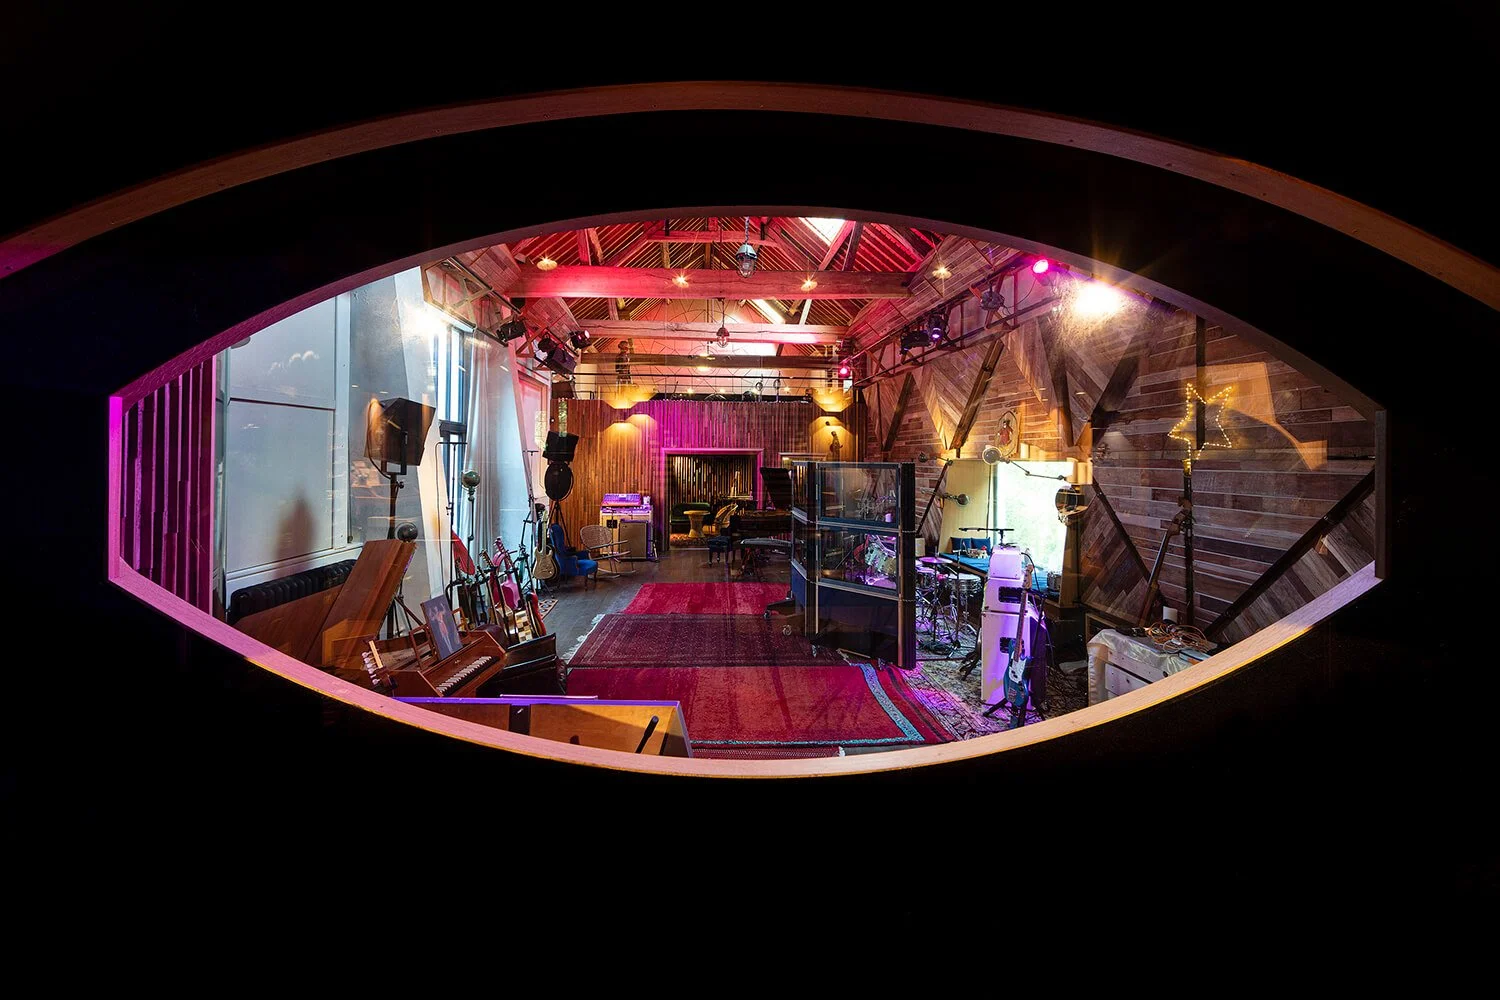
A garage can be one of the worst acoustic environments, but also one of the best spaces to build a studio.
While its flexible layout and generous footprint make it an ideal blank canvas, hard surfaces, flutter echoes, and poor sound insulation pose major challenges. Here is how to turn a noisy, untreated garage into a professional recording space.
Why a garage is a challenging space for a recording studio?
Garages were designed for vehicles, not acoustics, making them naturally hostile environments for sound recording. The primary issue stems from their construction materials: concrete floors, exposed brick, or drywall create hard, reflective surfaces. These surfaces bounce sound waves around, generating harsh flutter echoes and unpredictable reverberation that compromise audio clarity.
Additionally, most garages feature parallel walls, which create standing waves and room modes causing specific frequencies, particularly low bass, to build up or cancel out. Finally, the garage door represents the weakest link in the structure. Being thin and unsealed, it allows external noise from traffic, weather, and neighbors to bleed inside while letting high-volume music leak out.
How to soundproof and treat a garage recording studio?
Transforming a garage into a functional recording environment requires a clear two-step strategy: stopping sound transmission (soundproofing) and controlling sound behavior inside (acoustic treatment).
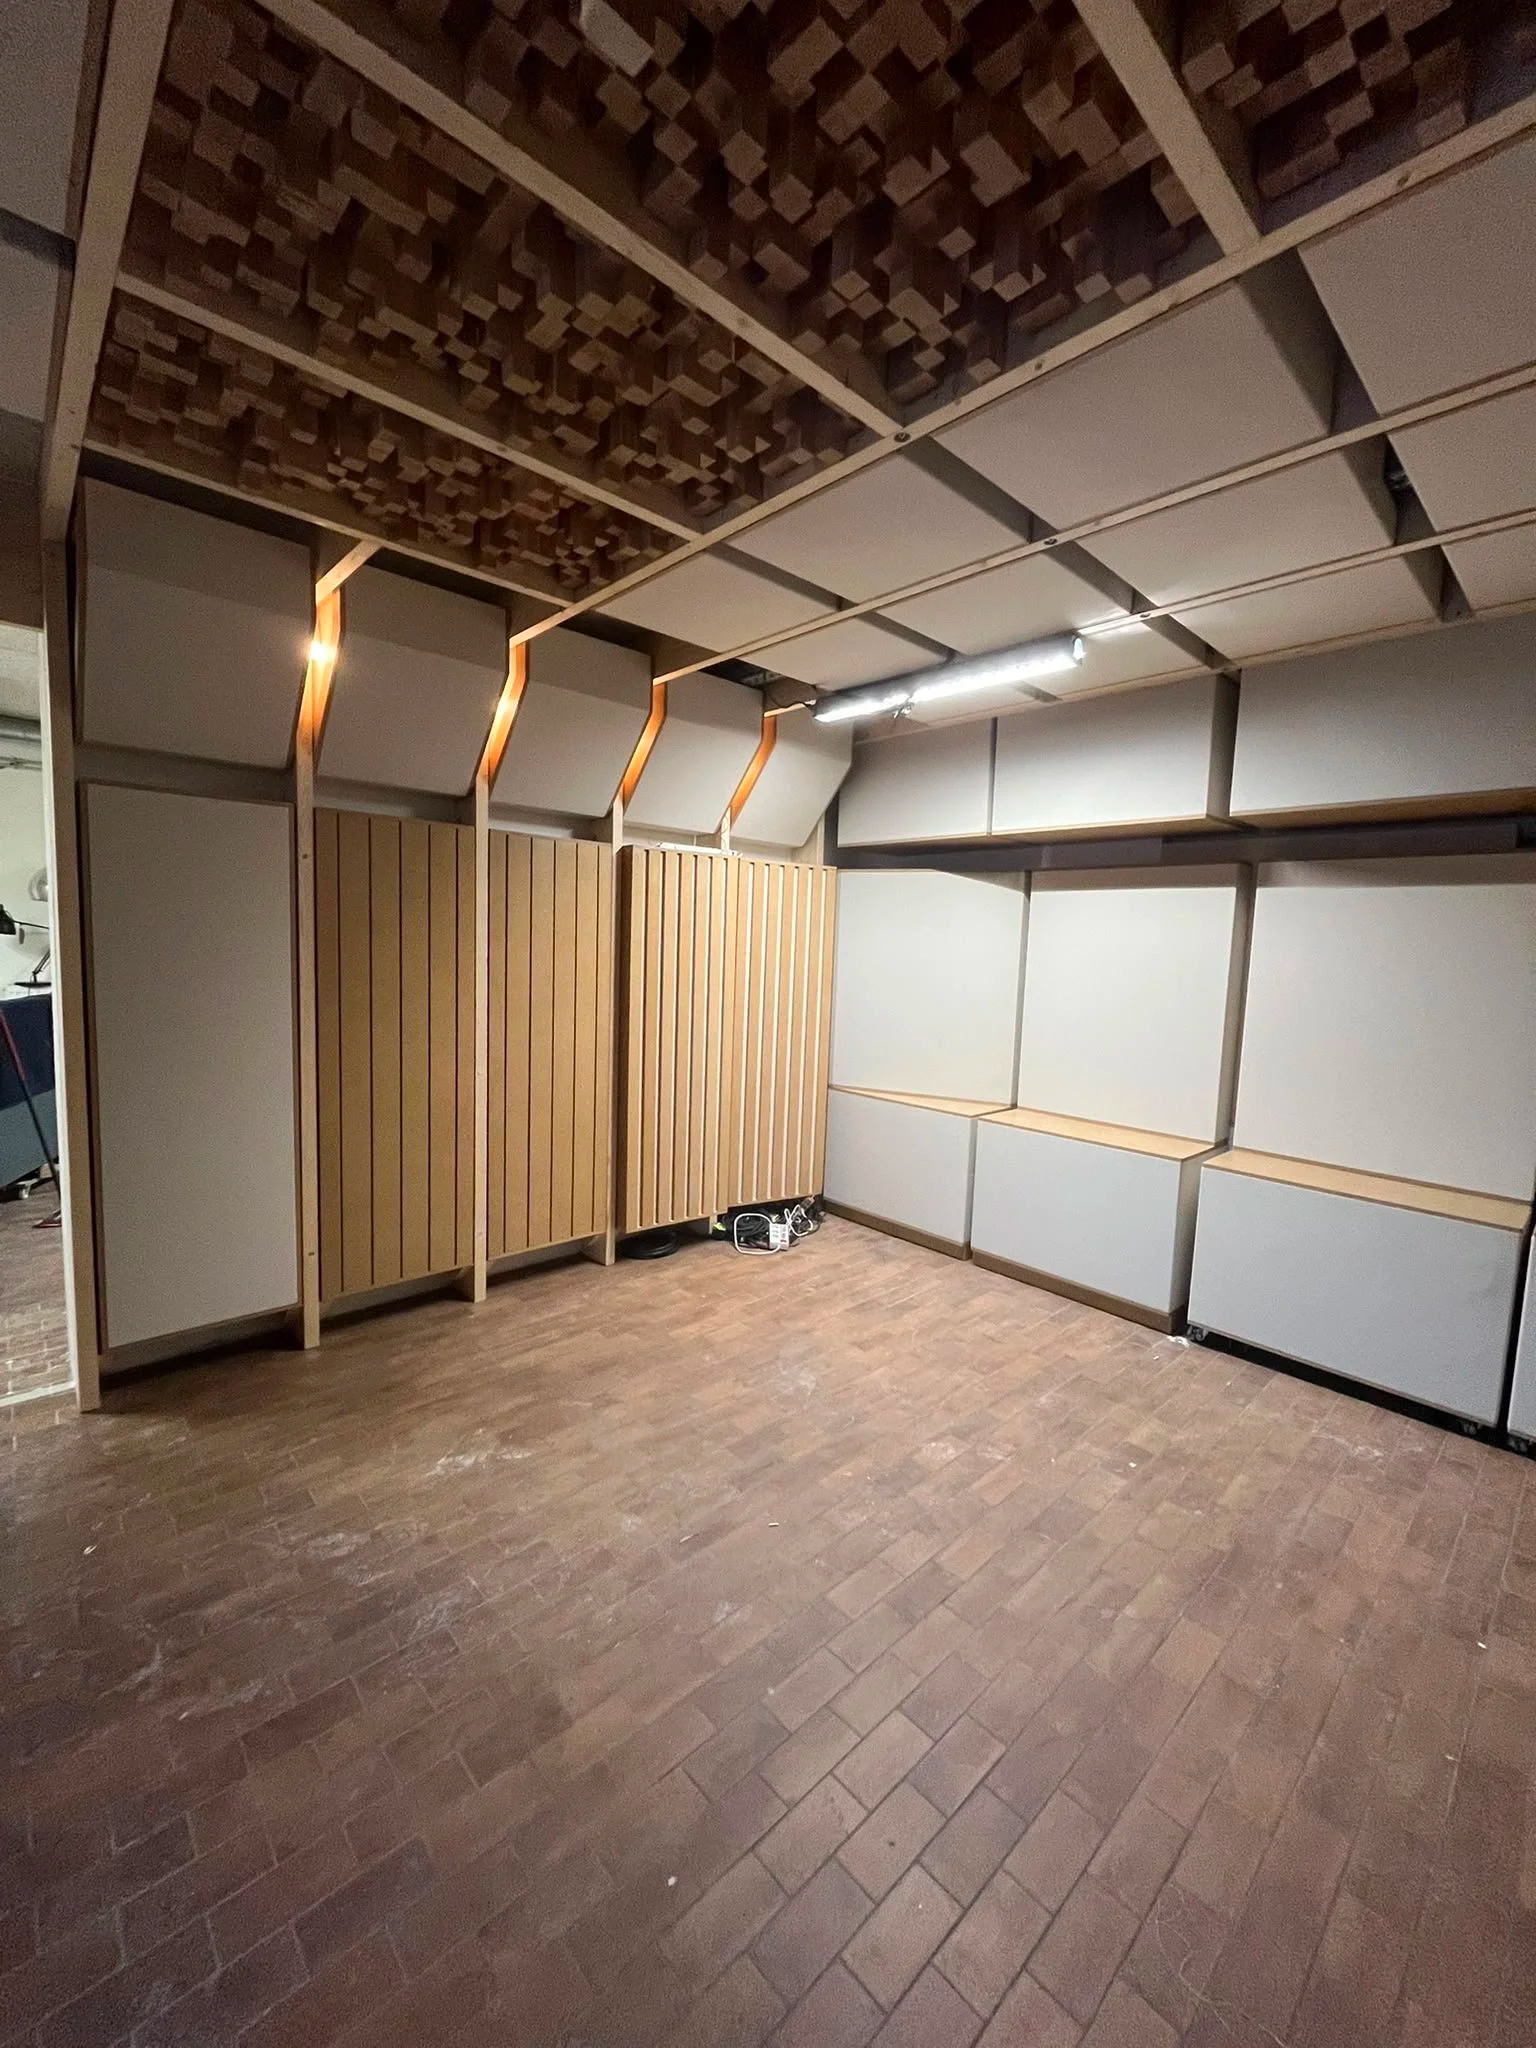
1. Soundproofing
Soundproofing focuses on keeping outside noise out and internal sound in.
Mass: Heavy materials block sound energy. Adding dense layers like thick drywall or mass-loaded vinyl (MLV) to walls and ceilings prevents transmission.
Air Sealing: Sound behaves like water; if air can leak, sound will too. Sealing every gap, crack, and outlet box with acoustic sealant is essential.
Decoupling: To prevent low frequencies from traveling through the building's frame, mechanical separation, such as building a floating floor or framing an isolated "room within a room”, breaks the vibration path.
The Garage Door Priority: Because standard garage doors offer minimal acoustic resistance, addressing them is a top priority. The most effective solution is removing or sealing the door completely and constructing a heavily insulated, decoupled drywall wall directly behind or in place of it.
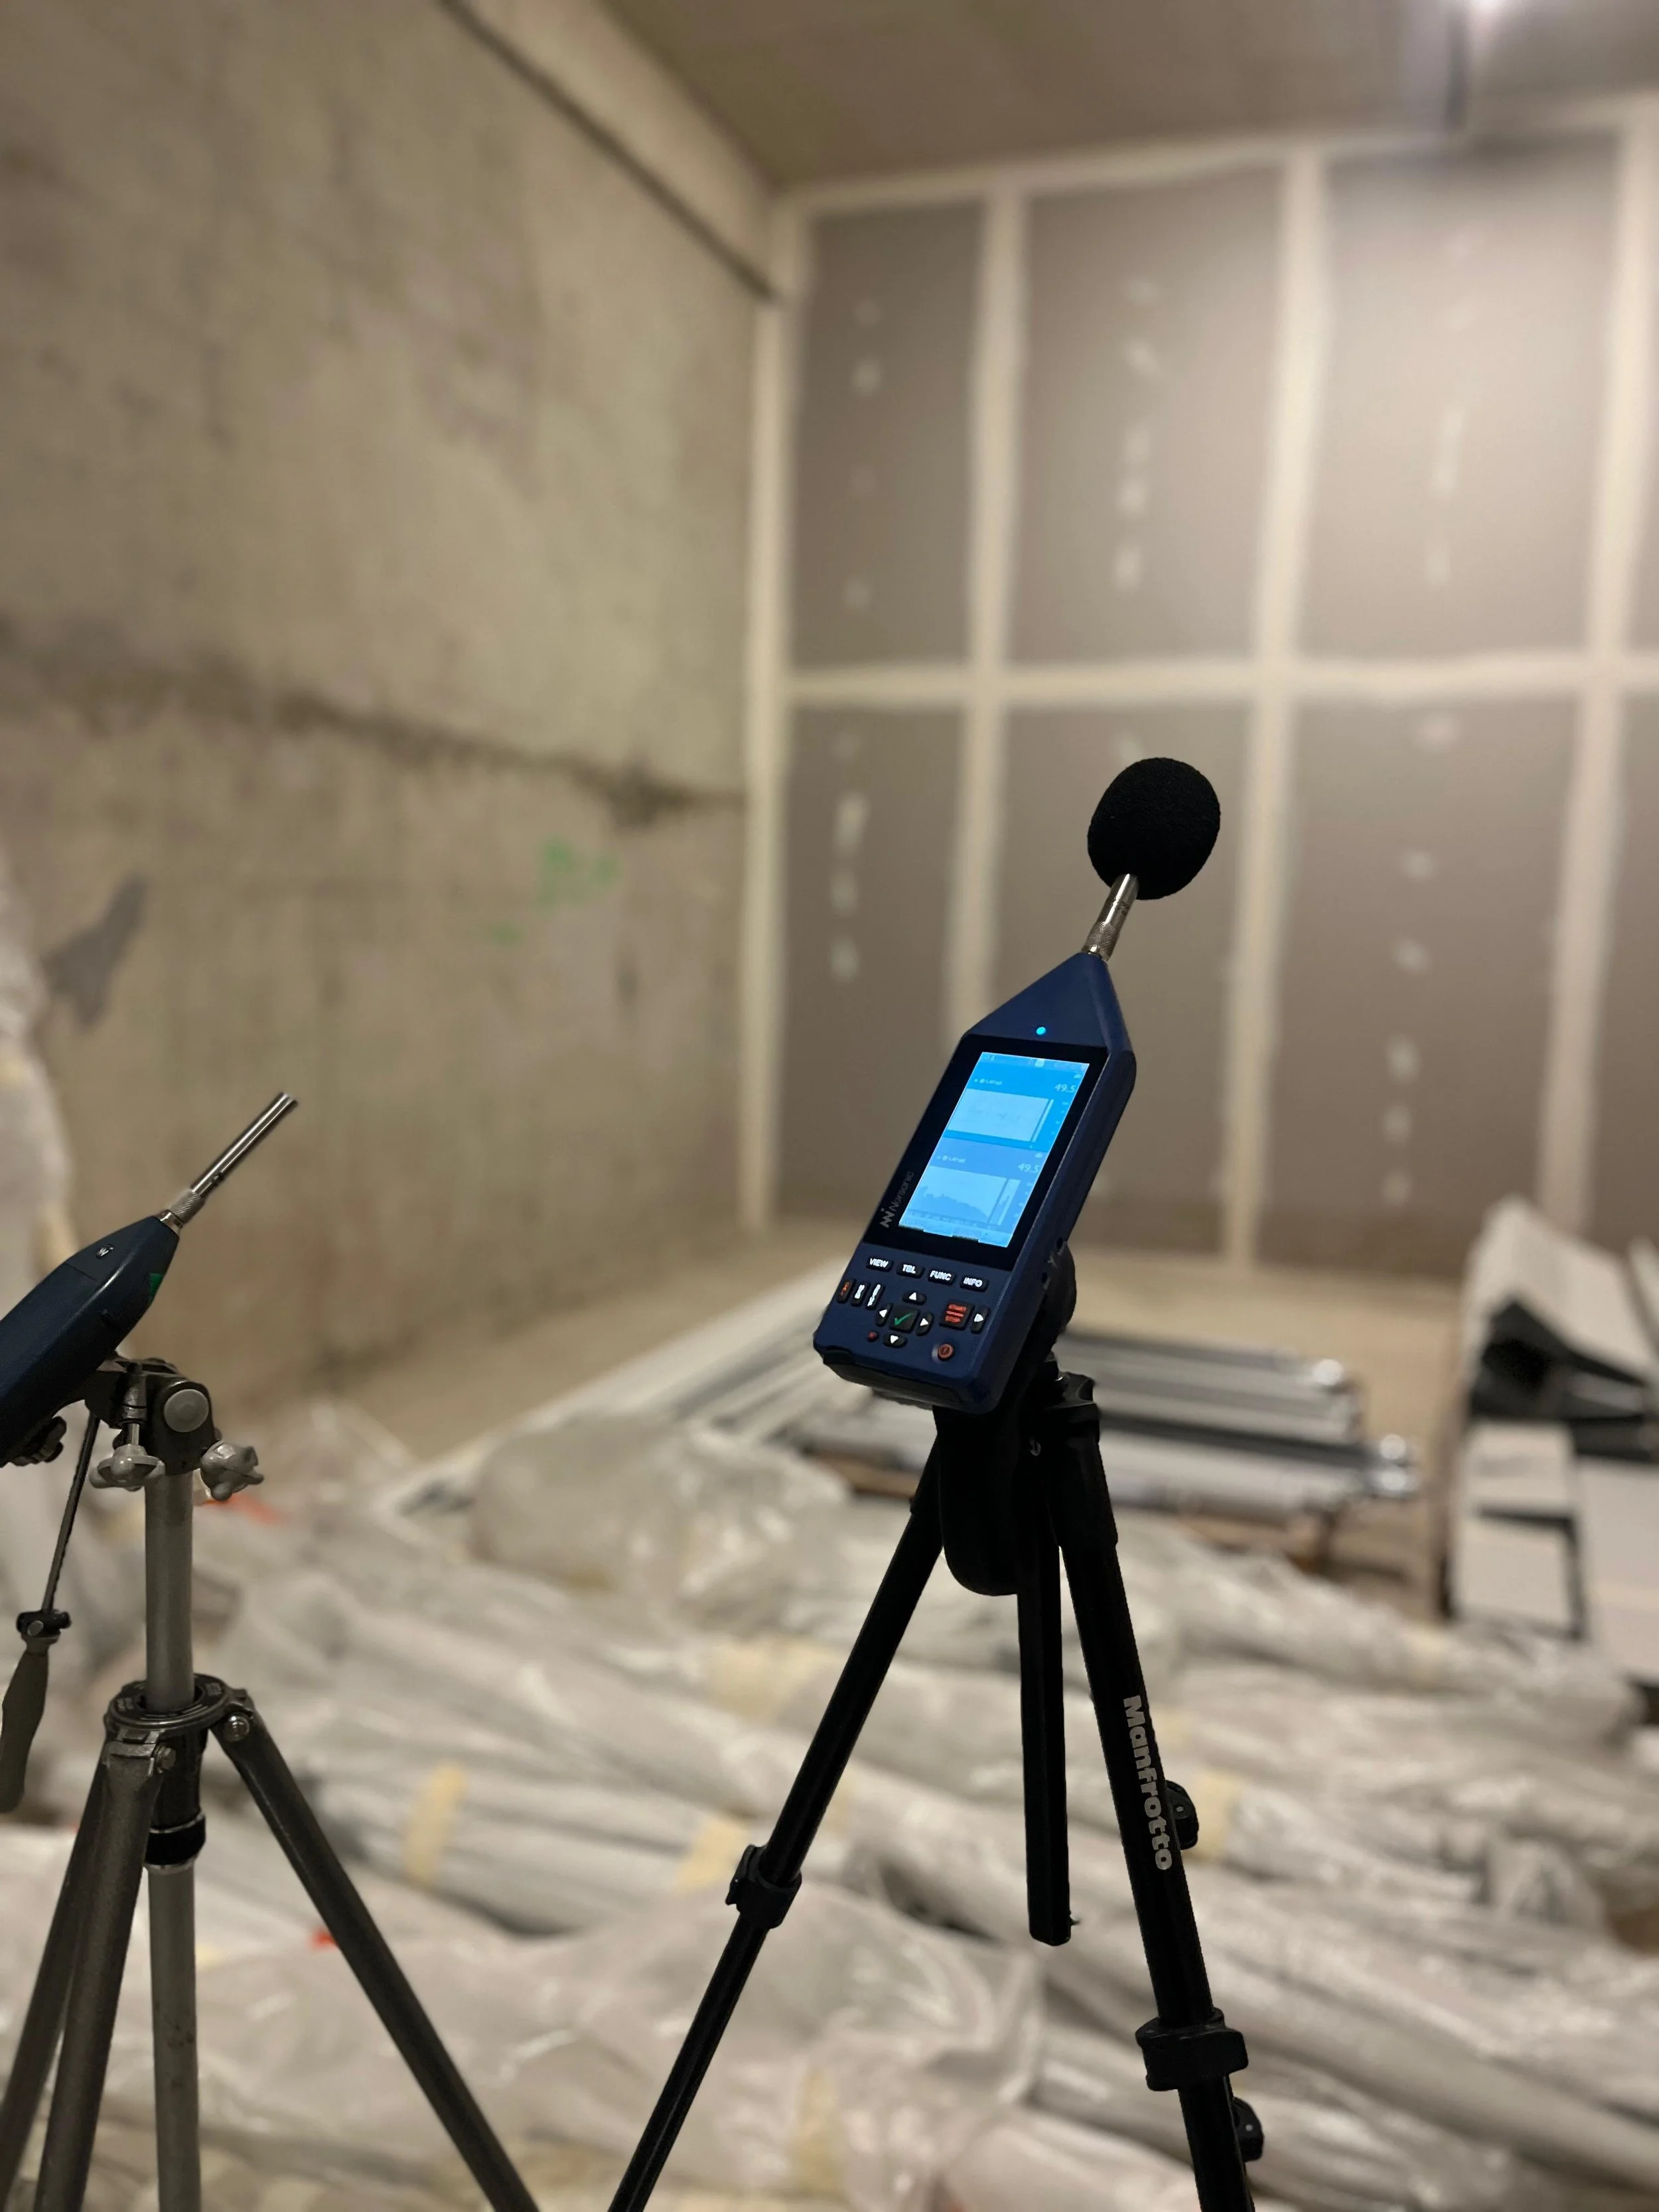
2. Acoustic Treatment
Once the room is soundproofed, acoustic treatment controls reflections to deliver an accurate listening environment.
Absorption Panels: Installing broadband acoustic panels on primary reflection points tames harsh reflections and eliminates flutter echo.
Bass Traps: Low frequencies naturally accumulate in corners. Placing thick bass traps in room corners controls muddy low-end buildup and smooths out frequency response.
Diffusion: Diffusers scatter remaining sound reflections evenly across the room without deadening the space, preserving natural energy and room depth.
Tonal Balance: Combining absorption and diffusion creates a balanced acoustic environment, allowing you to trust what you hear during tracking and mixing.
Planning to build a garage recording studio?
Red House helps you design a high-performance space with optimized acoustics, isolation and layout for recording and mixing.
How to set up your desk, monitors and recording space?
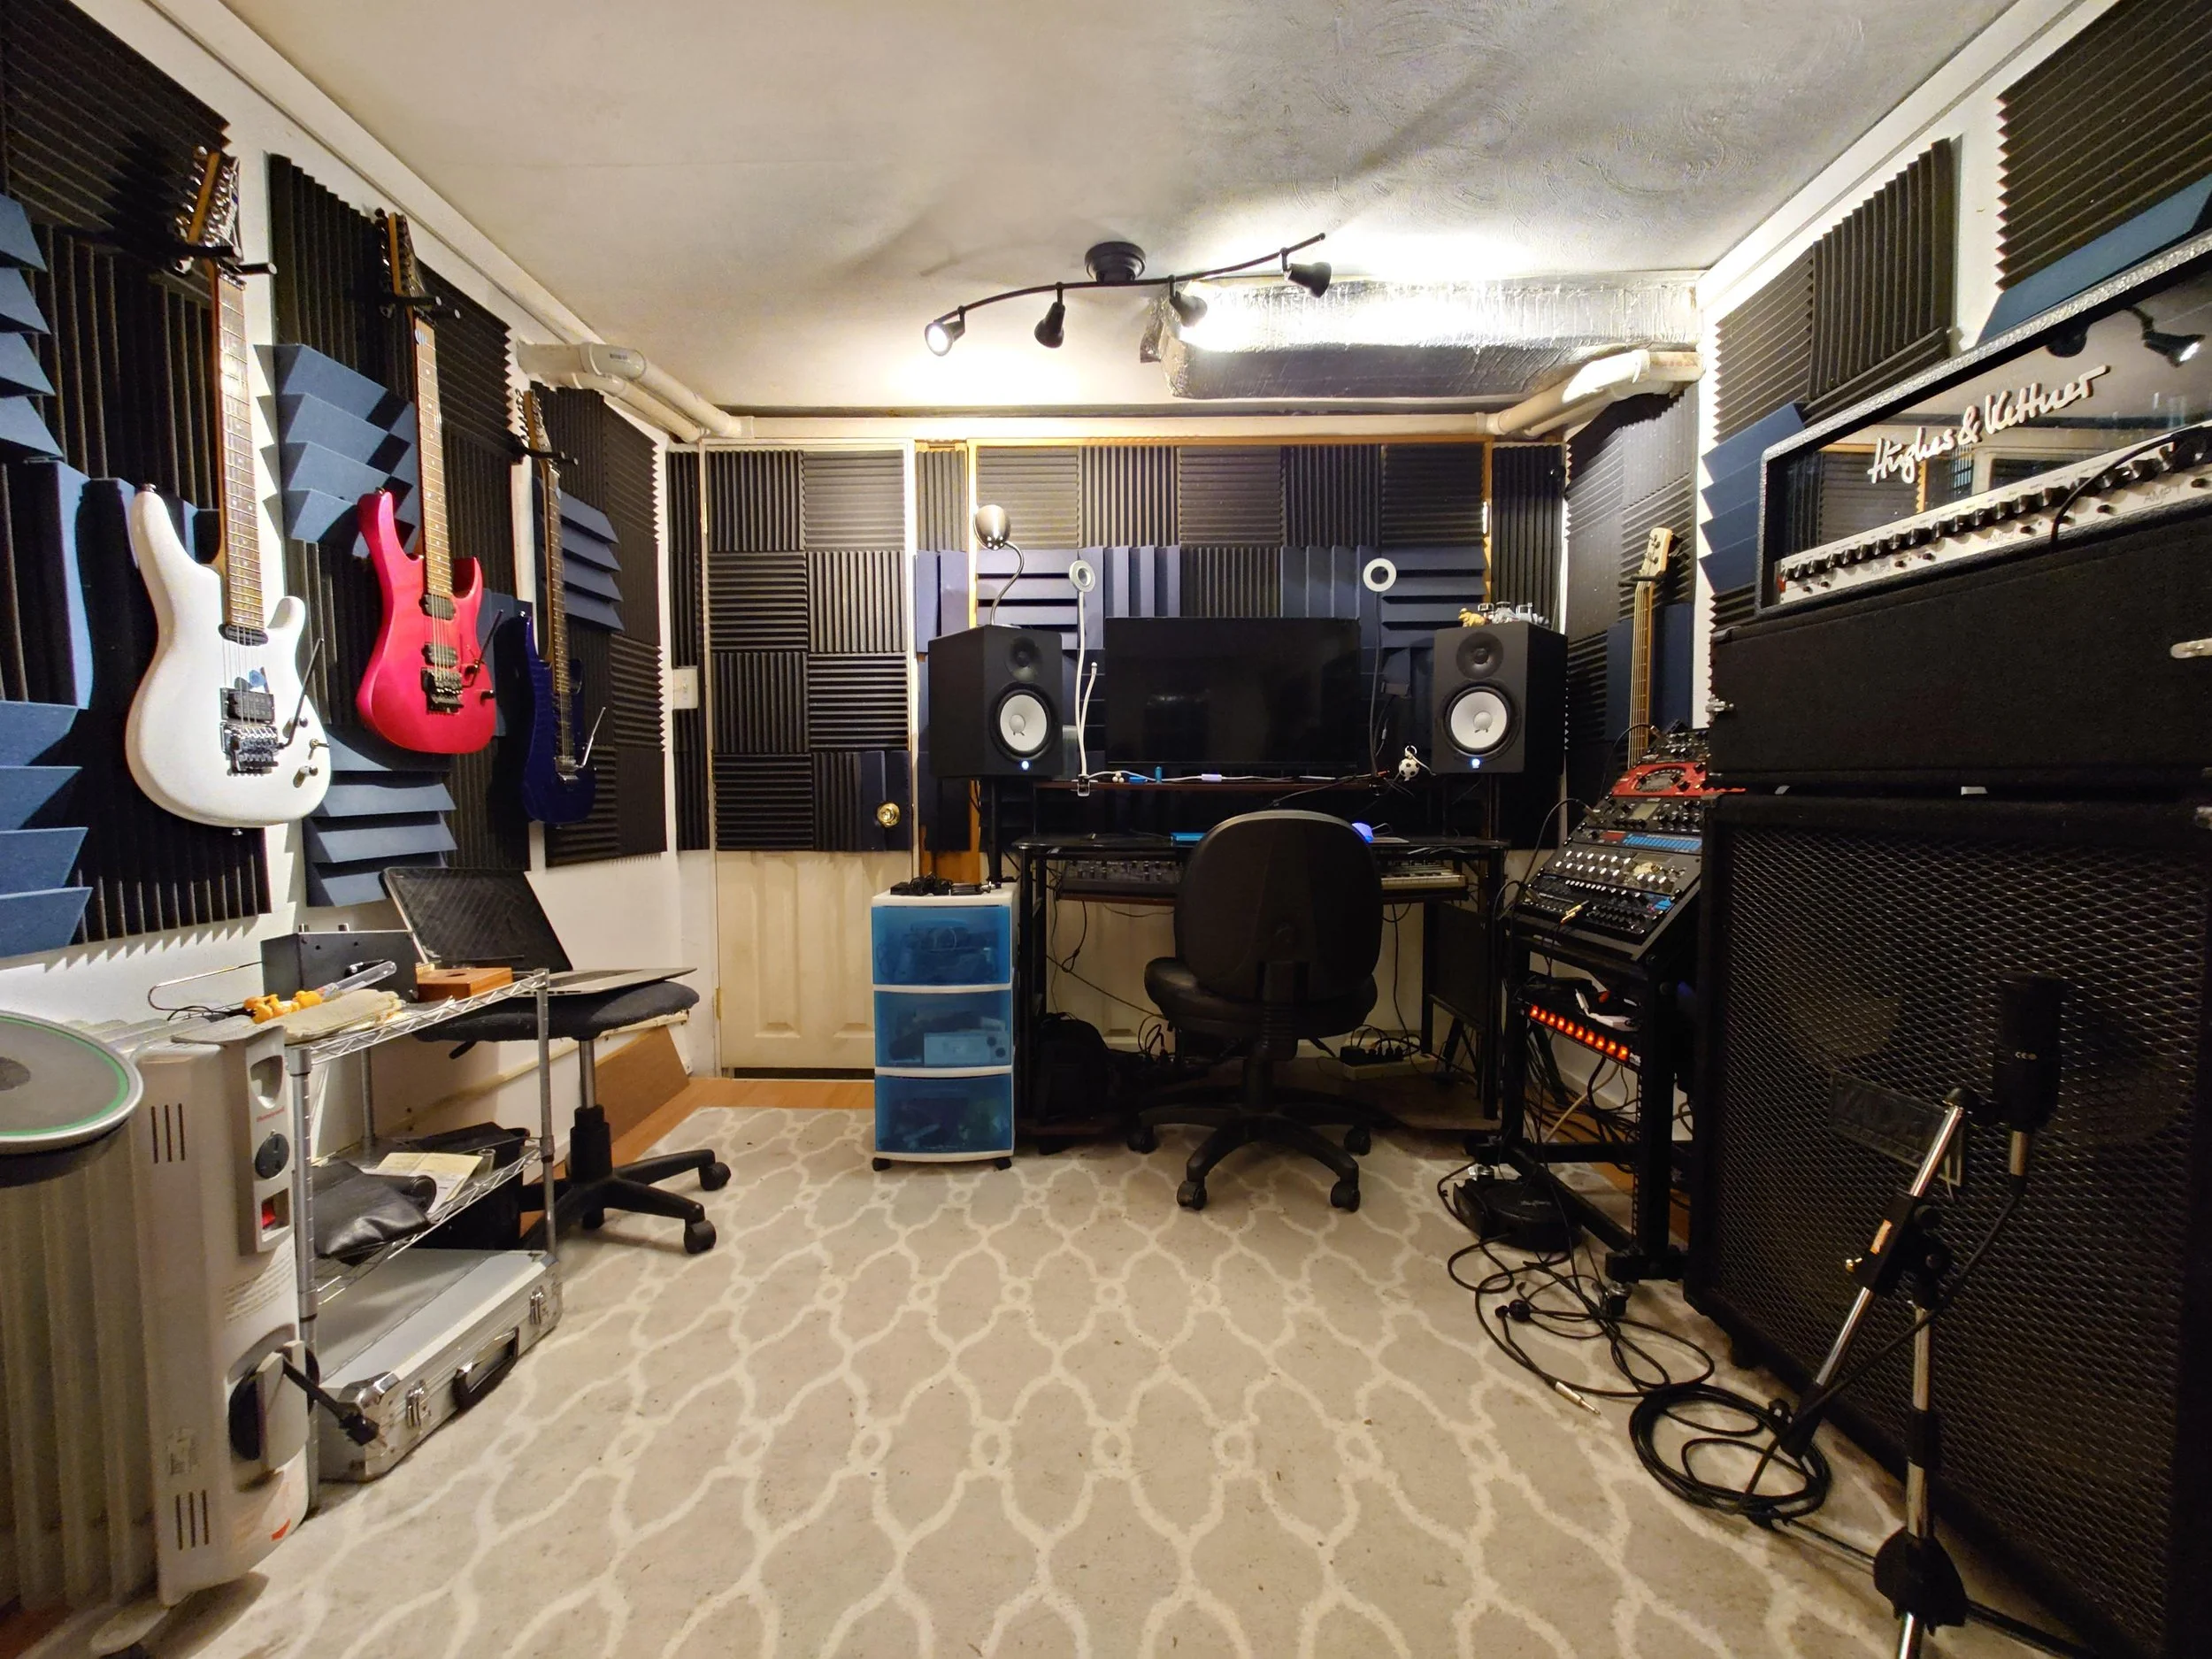
Optimizing the layout of your garage studio is essential for accurate monitoring and a fluid workflow. Start by positioning your desk along the shorter wall, facing down the length of the room, to minimize bass build-up and early reflections. Your listening position should ideally sit at roughly 38% of the room's total length from the front wall. Set up your studio monitors to form an equilateral triangle with your head, ensuring the tweeters are aimed directly at your ears at eye level to guarantee precise stereo imaging. Finally, logically divide the remaining space into dedicated zones: keep your mixing station centered for critical listening while establishing a clear, accessible area for live tracking with microphones and instruments to keep cables organized and maintain focus during recording sessions.
Key elements you need in a garage recording studio
Audio Interface: The central hub of your digital setup, converting analog signals from microphones and instruments into high-quality digital audio for your computer.
Studio Monitors: Active, flat-response speakers that deliver an accurate representation of your audio, allowing you to make precise mixing and tracking decisions.
Acoustic Treatment: A essential combination of absorption panels, bass traps, and diffusers to control reflections and prevent low-end frequency buildup in a hard-surfaced space.
Dedicated Work Zones: A clear spatial layout separating your control room area (desk, monitoring, mixing) from your live tracking area (microphones, vocal booth, instrument space) to streamline your workflow and keep cables organized.
Common mistakes when building a garage recording studio
Starting with the wrong priorities: Buying high-end gear before fixing the room's core structure and acoustics.
Ignoring soundproofing: Confusing acoustic panels with isolation and letting noise bleed in or out.
Poor speaker and desk placement: Setting up monitors in corners or dead center, causing severe frequency distortions.
Over-treating or mis-treating the room: Deadening the room completely with thin foam instead of using targeted absorption and bass traps.
How to design an efficient garage studio?
Designing an efficient studio requires looking beyond soundproofing to focus on room functionality. A well-thought-out global layout ensures every square foot of your garage is utilized effectively. By organizing dedicated areas for mixing, recording, and gear storage, you create a seamless workflow that keeps creativity flowing without spatial constraints or cable clutter holding you back. If you have the space to expand, drawing inspiration from a large open modern recording studio can help you combine professional ergonomics, natural lighting, and open layout concepts even within a converted setup.
Why work with an acoustic expert?
Accurate Diagnosis: Professional measurement tools pinpoint the exact acoustic flaws, standing waves, and sound leaks unique to your space.
Custom Optimization: Expert design delivers targeted isolation and acoustic treatment solutions tailored specifically to your room's geometry and budget.
Time and Cost Savings: Working with a professional prevents costly trial-and-error mistakes, ensuring optimal results from day one.
Why choose Red House for your studio project?
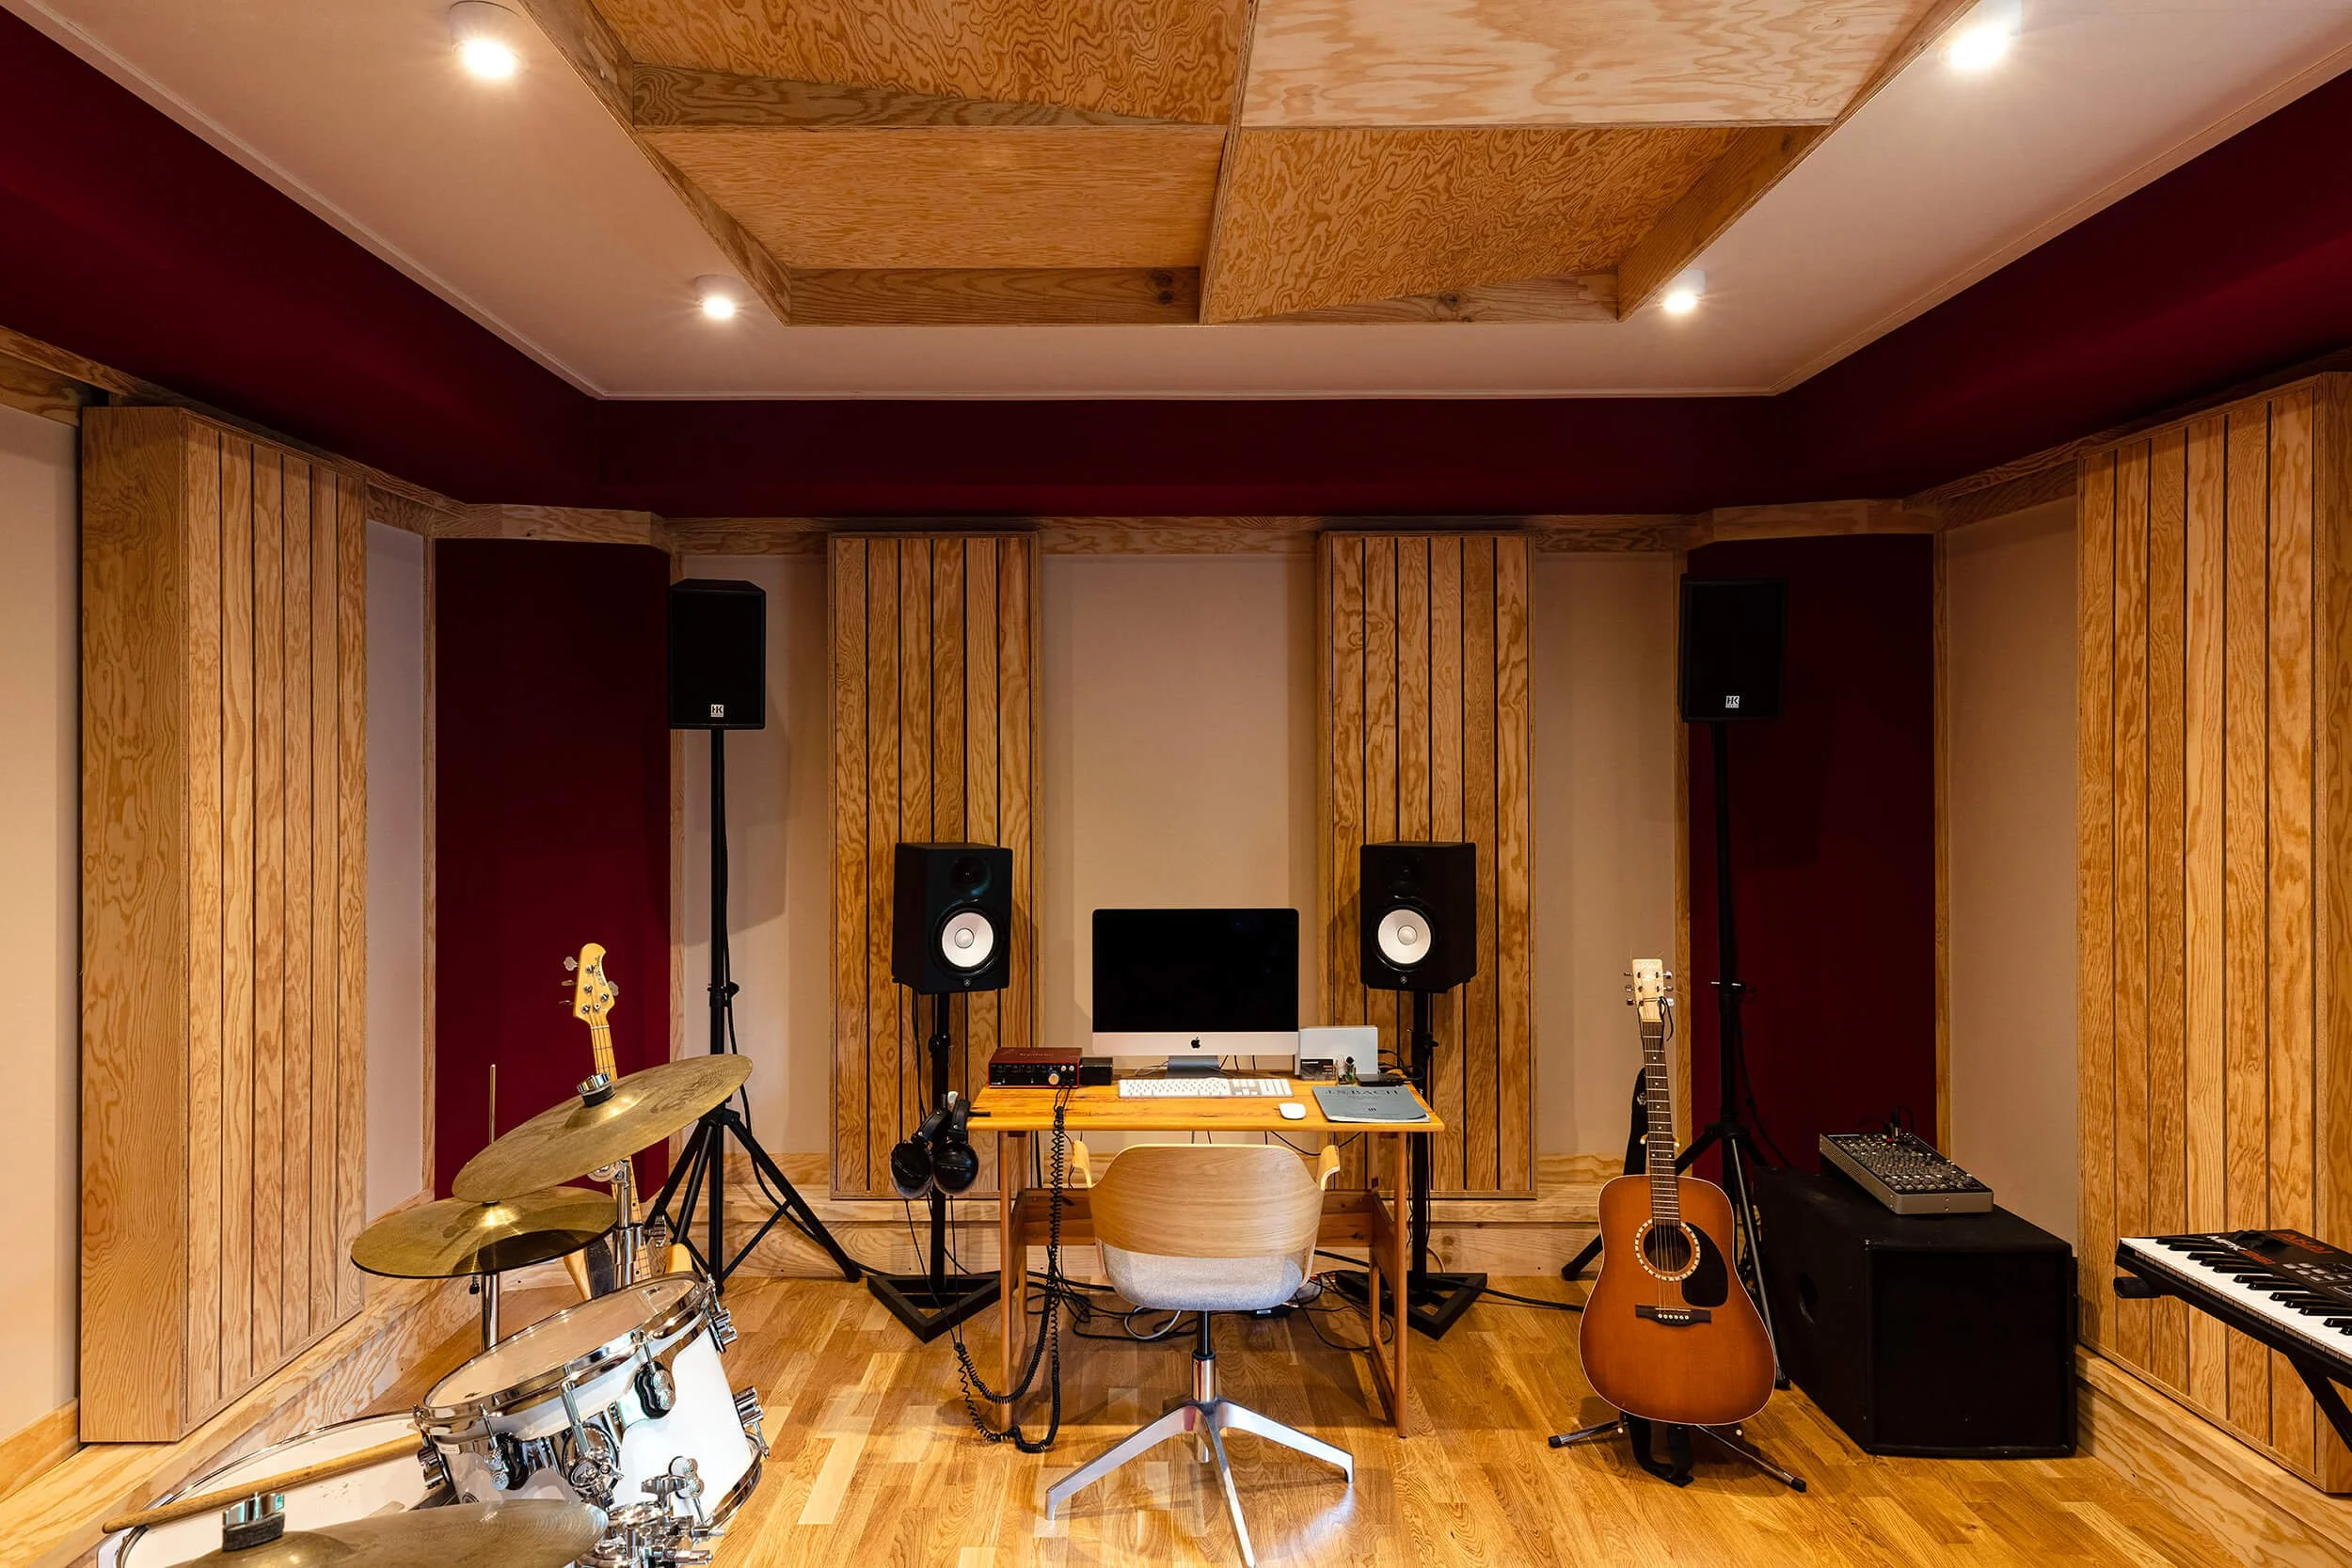
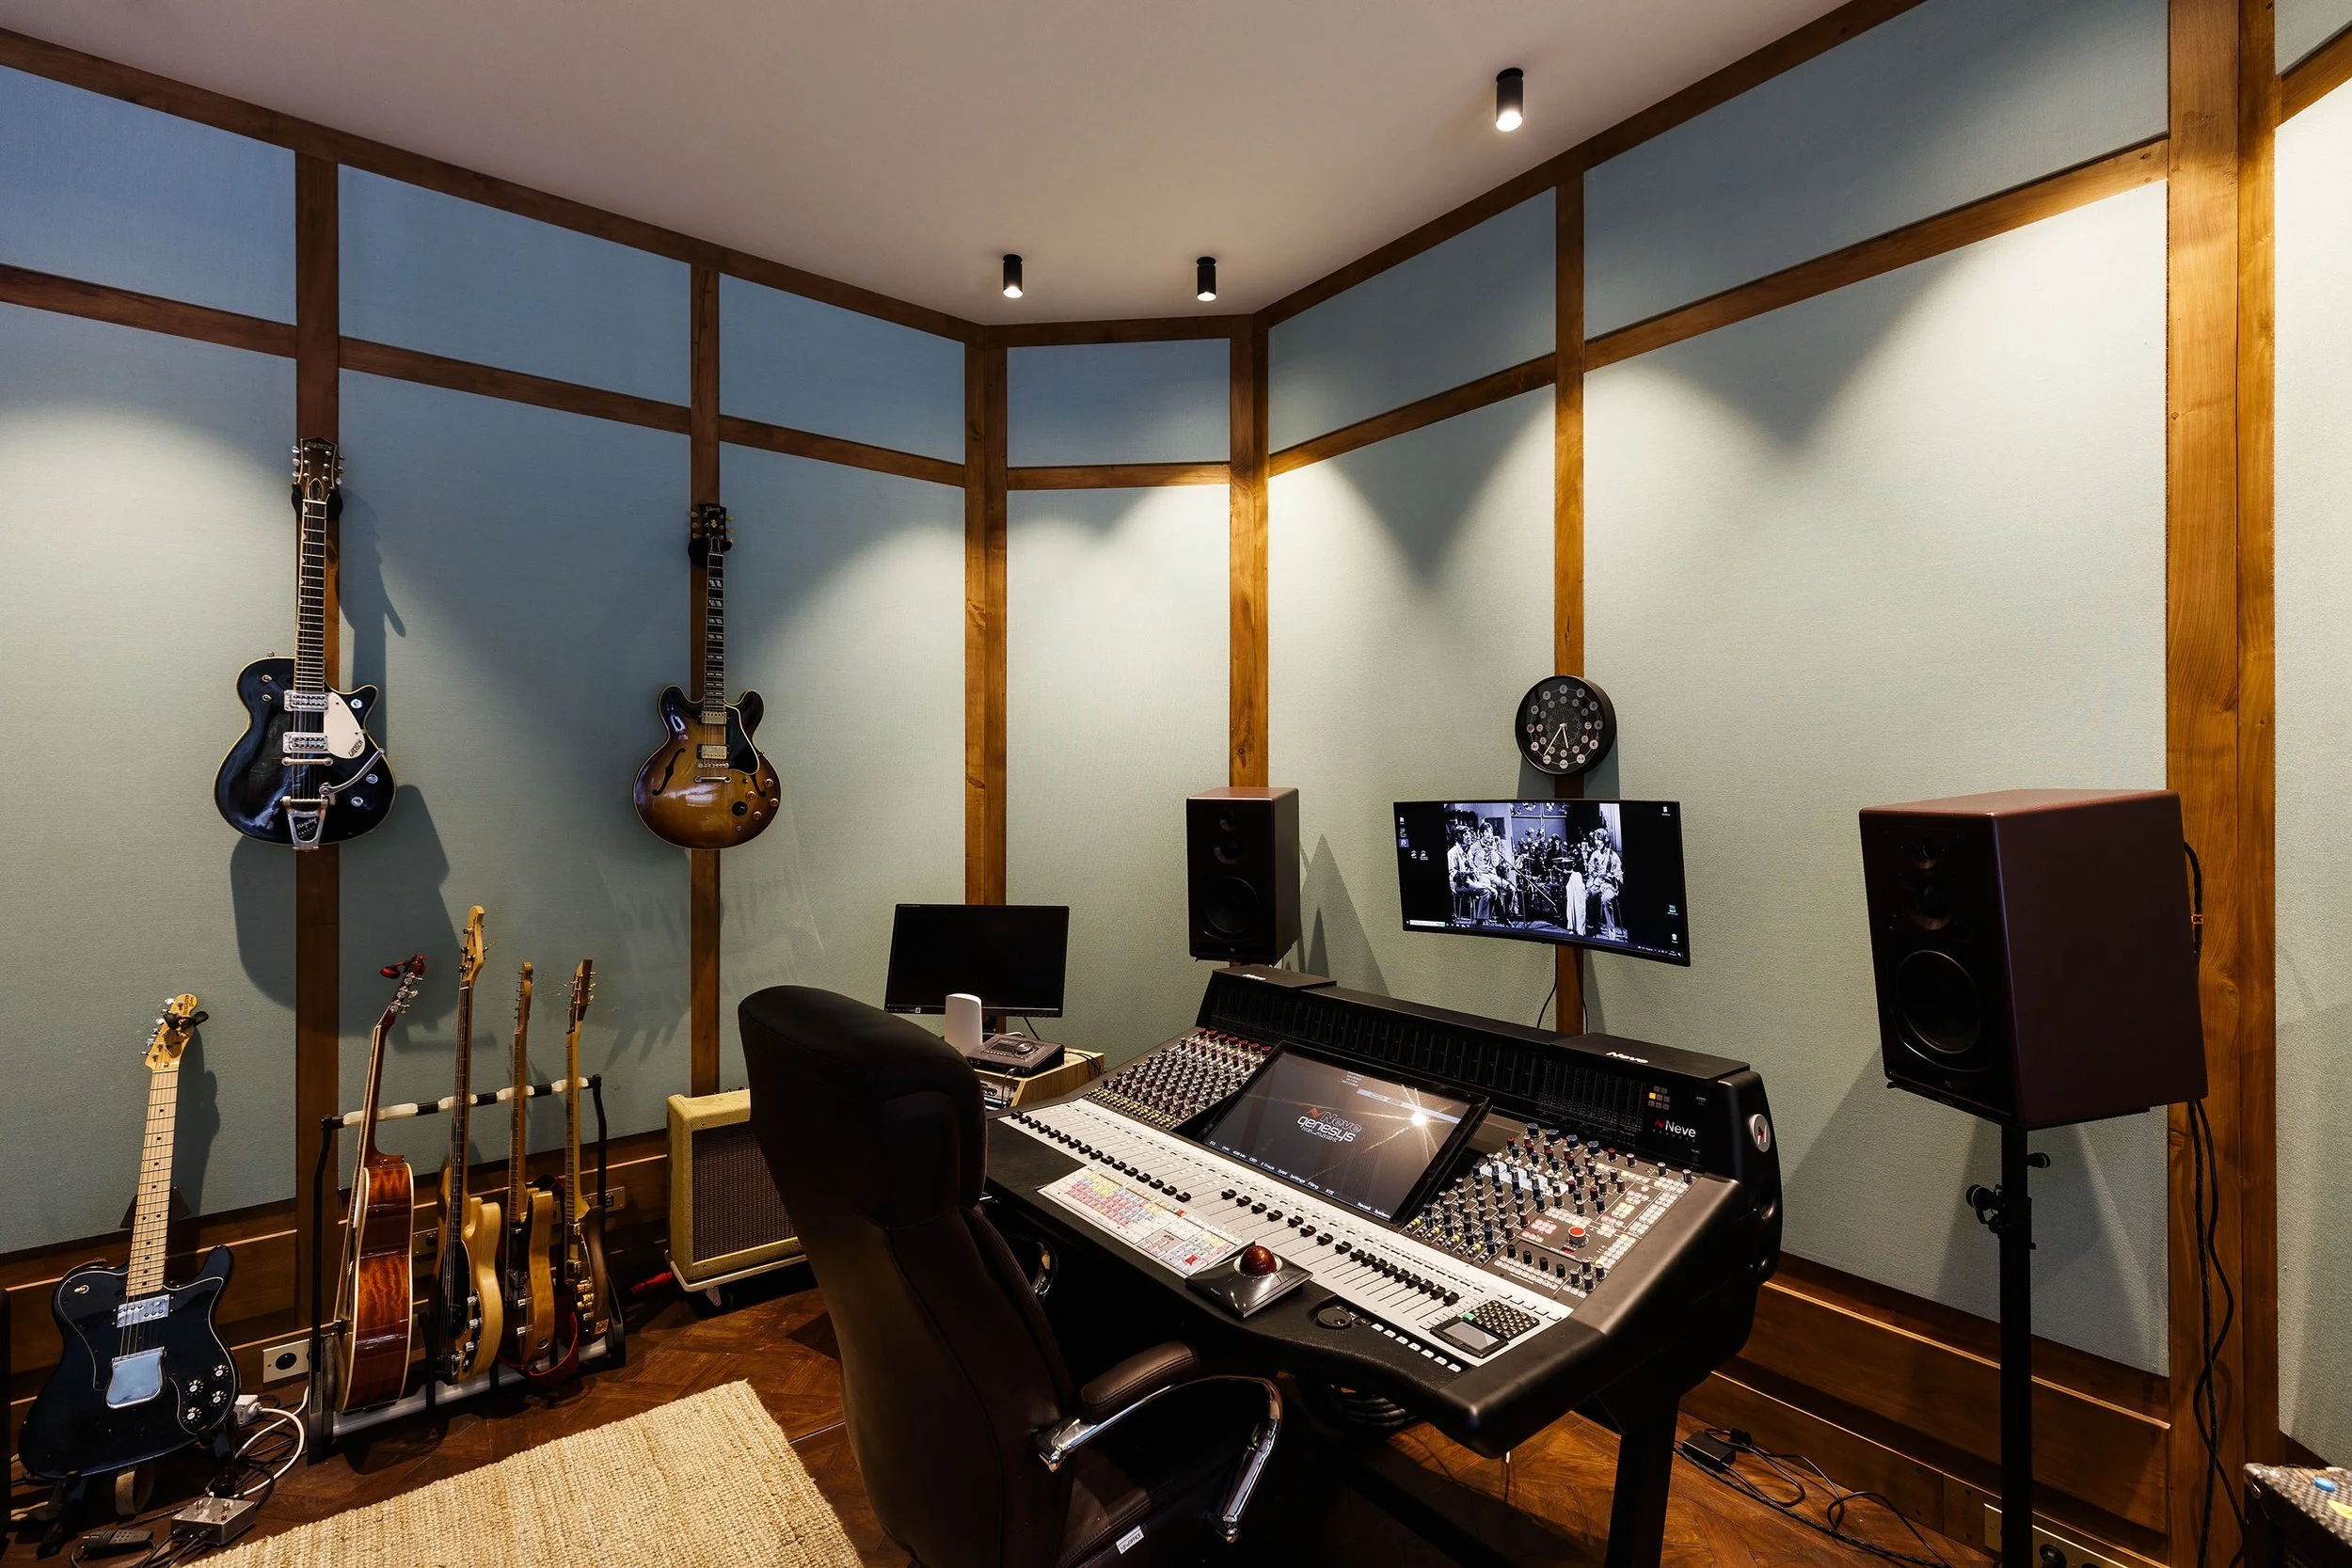
Red House combines high-end architectural acoustics with practical expertise in converting residential spaces. Whether transforming a garage, basement, or outbuilding, Red House delivers custom, turn-key studio design that meets professional recording standards while maximizing your room's full potential.
Garage recording studio: frequently asked questions
-
Yes, absolutely. With proper soundproofing, decoupling, and appropriate structural modifications, a standard garage can be turned into a fully functional professional recording studio. While a raw garage presents acoustic challenges like hard surfaces and low-frequency resonance, adding high-density materials like mass loaded vinyl, rockwool, and heavy drywall helps isolate the room from external traffic noise. By installing double doors, acoustic seals, and decoupling the walls and ceilings, you can create an airtight soundproof room suitable for recording vocals, loud drums, or an electric amplifier. Whether your goal is tracking demos or setting up a high-end control room with analog outboard gear and an audio interface running Pro Tools or Ableton Live, converting a garage is one of the most popular recording studios ideas to achieve industry-standard sound quality at home without having to search for a commercial recording studio for sale.
-
Yes, acoustic treatment is essential. While soundproofing materials block sound transmission, internal acoustic treatment controls how sound waves behave inside the recording space. Untreated concrete walls cause harsh reverberation, flutter echo, and standing waves that distort low end clarity. To achieve a balanced frequency response, you must combine sound absorption and diffusion. Placing thick bass traps in corners helps absorb unwanted low frequency energy, while targeted acoustic panels, fiberglass, or high-density acoustic foam on primary reflection points tame high frequency bounce. This allows your studio monitors to deliver an accurate representation of your mix, ensuring that recording at studio quality translates perfectly to outside playback systems.
-
To optimize your studio setup, place your main desk facing the shorter wall so sound projects down the longest dimension of the room, minimizing low-frequency buildup. Position your studio monitor pair at ear level to form an equilateral triangle with your head, avoiding placement directly against corners or flat walls. Keep your audio workstation, midi controller, mixer, and main recording gear centralized to form an efficient control room workspace. Maintain a clear separation between your mixing desk and your vocal booth or live tracking zone, where you place your condenser microphone, pop filter, mic stand, and acoustic instruments, to ensure optimal workflow and clean signal capture.
-
The cost varies depending on the scale of your project, structural needs, and choice of studio equipment. A basic DIY setup focusing on surface-level acoustic insulation, foam panels, basic studio monitors, a condenser mic, and a mid-range audio interface (such as Focusrite or PreSonus) can cost a few thousand dollars. However, building a fully isolated professional recording studio with floating floors, heavy structural sound isolation, custom bass trap installations, dedicated HVAC, and pro-grade outboard gear requires a larger investment. Investing in proper acoustic design pays off over time, whether you use the space for personal music production or offer professional recording services and commercial studio time for local artists preparing a music submission to a recording label or distribution platform.
-
Yes, adequate ventilation is crucial in a soundproofed garage studio. Because effective noise reduction requires creating an airtight enclosure with heavy seals and thick sound barrier layers, natural airflow is completely blocked. Without a properly designed HVAC or sound-attenuated baffle system, the recording room quickly becomes hot, humid, and uncomfortable during long recording session hours. Installing a quiet, baffled ventilation system ensures a constant supply of fresh air while keeping background noise and external noise pollution from breaching your soundproof space
Want to create a professional recording studio in your garage?
Red House supports you from concept to final setup to achieve optimal sound quality.