
Published on October 22, 2026
Reading time: 10min
By Lucas Medus - Studio & Acoustics Expert at Red House
Sommaire
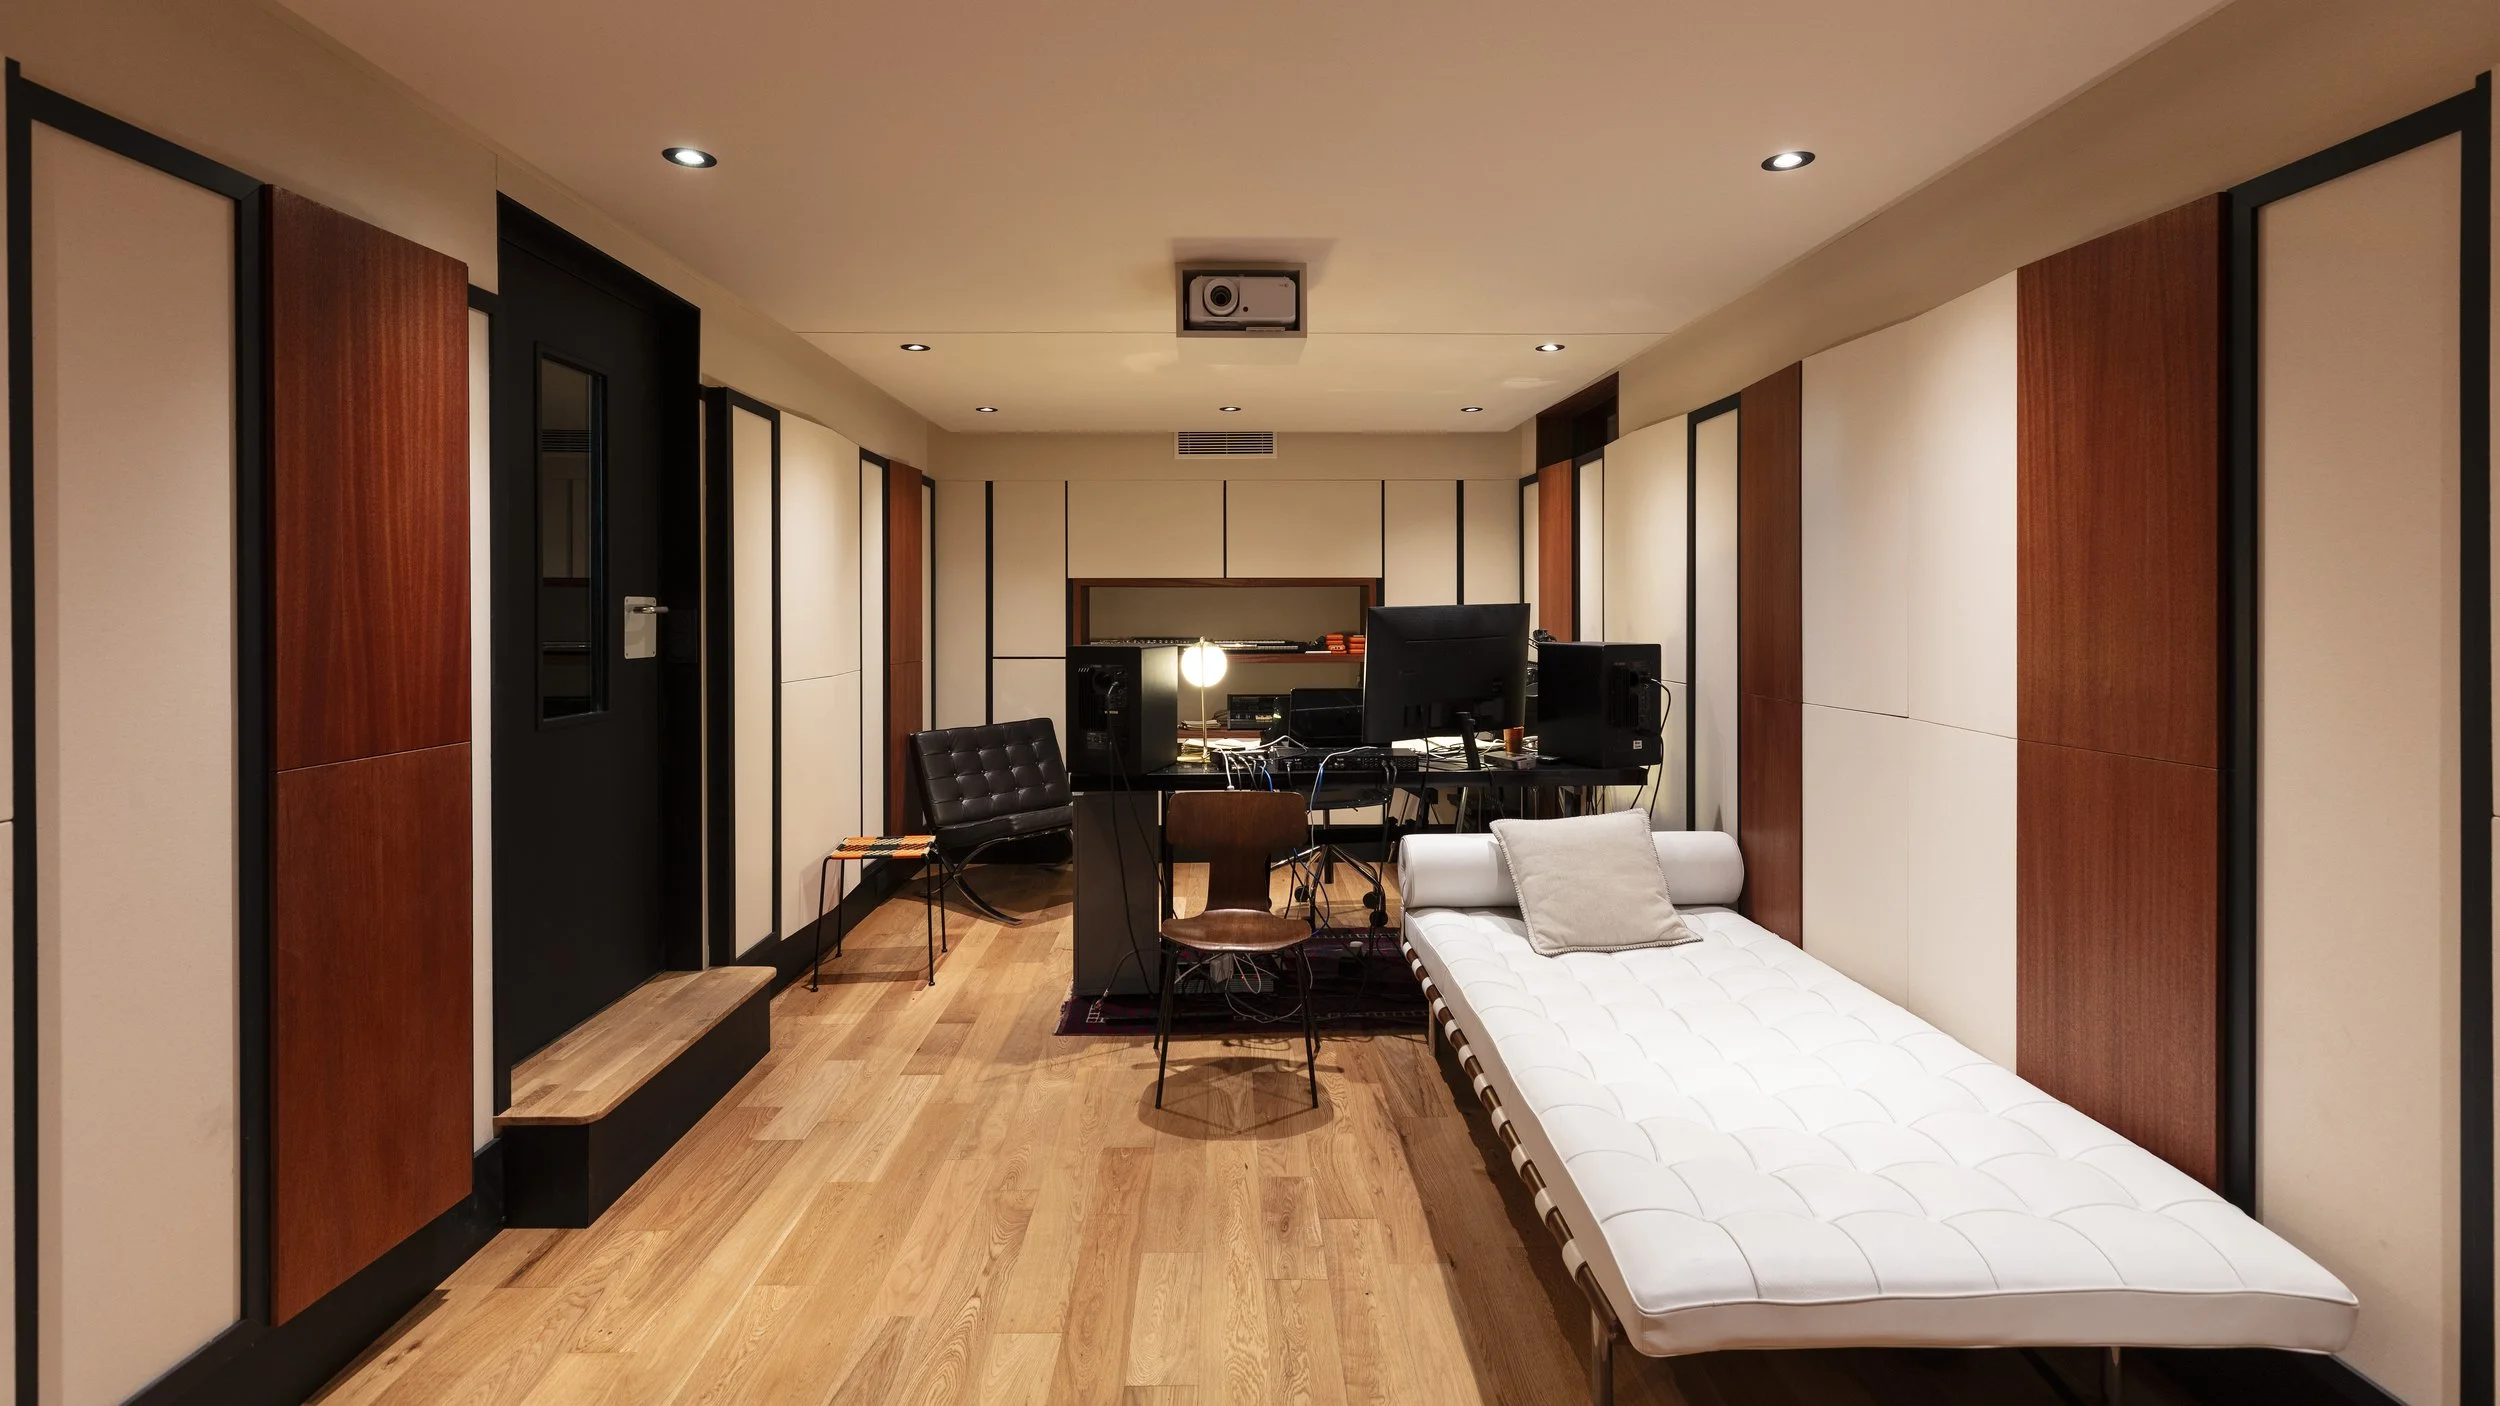
A bedroom recording studio can sound professional if you get three things right: the layout of the room, a few key pieces of gear, and basic acoustic treatment. While most guides focus solely on gear lists, mastering your room's acoustics and layout is what truly transforms a small space into a pro-level studio.
Key Takeaways
- Start with room layout: Desk position and speaker symmetry matter more for sound quality than high-end gear.
- Focus on the core essentials: All you need to begin is a computer, DAW, audio interface, microphone, headphones, and studio monitors.
- Prioritize low-frequency control: Small rooms require targeted acoustic treatment to handle bass build-up.
- Combine solutions: Soft furnishings offer basic dampening, but they cannot replace real bass traps and absorption panels.
- Rely on headphones: A quality pair of headphones is your best ally for accurate monitoring, late-night sessions, and neighbor peaced.
Can you build a real recording studio in a bedroom?
Yes, absolutely, though with a few inherent constraints related to room dimensions, low frequencies, external noise, and neighbors.
A bedroom environment is surprisingly capable when properly optimized. It provides an ideal space for music production and beatmaking, allowing you to compose, arrange, and mix entirely in the box with a great set of headphones and calibrated monitors. It is also perfectly suited for capturing clean lead vocals, tracking podcasts, or recording broadcast-ready voiceovers with targeted acoustic treatment.
However, a small residential room cannot defy physics and comes with clear physical boundaries. You will naturally face challenges when trying to record an acoustic drum kit, which generates massive volume and low-end energy that standard walls cannot contain, a task often better suited for a dedicated garage recording studio or isolated space. Similarly, tracking a full live band simultaneously requires multi-room isolation that a single bedroom simply cannot offer.
By understanding these realistic boundaries from the start, you can avoid unnecessary expenses and focus your budget where it truly matters: optimizing your room layout, controlling low-frequency reflections, and achieving professional results without major construction.
How to lay out your bedroom recording studio
The physical placement of your equipment in a small room has a massive impact on what you hear. Before spending money on software or hardware, optimizing the geometry of your workspace helps prevent harsh acoustic reflections and unpredictable bass response.
Ideal Bedroom Studio Floor Plan
Where to place your desk
Position your desk against the shortest wall of the room, facing down the longest dimension. Make sure to center the desk horizontally along that wall. When exploring practical recording studio desk ideas, this setup gives sound waves from your speakers more distance to travel before bouncing off the back wall, which reduces immediate reflections and creates a far more accurate stereo image.
Monitor placement and listening position
Your head and two studio monitors should form a perfect equilateral triangle, with the speakers angled directly toward your ears at head height. Keep the monitors a short distance away from side and front walls whenever possible to prevent low frequencies from building up artificially in the corners. Setting up your listening spot roughly one-third of the distance into the room provides the most balanced acoustic baseline.
Where to record vocals
When tracking vocals, step away from hard reflective surfaces like bare walls, windows, or large wooden furniture. Place your microphone setup facing into a treated corner or position a reflection filter behind the mic to catch stray room reflections before they reach the capsule. If you don't have space for a dedicated recording studio booth, recording in an area cushioned by sound absorption panels, soft furnishings, or bass traps ensures a dry, professional vocal signal that is much easier to process during mixing.
Essential gear for a bedroom recording studio
Setting up an efficient studio in a small space requires selecting a concise set of versatile tools rather than cluttering your workspace. Before diving into full setups, choosing the right digital audio workstation (DAW) and pair of studio headphones will form the foundation of your monitoring and recording workflow. For a deep dive into specific model recommendations, prices, and detailed buying criteria, explore our complete home studio equipment guide.
| Gear | What it does | Beginner tip |
|---|---|---|
| Computer | Serves as the central hub powering your DAW, plugins, virtual instruments, and project files. | Prioritize RAM (at least 16 GB) and SSD storage over raw CPU speed for smooth multi-track sessions. |
| DAW (Digital Audio Workstation) | Software used to record, edit, mix, and master audio tracks. | Start with free or lite versions (like Ableton Live Lite or GarageBand) before upgrading. |
| Audio Interface | Converts analog signals from microphones/instruments into digital audio for your computer, and vice versa. | A simple 2-in / 2-out interface with reliable preamps is plenty for a bedroom setup. |
| Microphone | Captures vocal tracks and acoustic instruments with accuracy. | A dynamic microphone (like the Shure SM58) often handles untreated rooms better than sensitive condenser mics. |
| Headphones | Provides accurate, detailed monitoring without room reflections interfering. | Choose closed-back headphones for tracking to prevent bleed into the mic, and open-back for mixing. |
| Studio Monitors | Delivers flat, uncolored sound playback so you can make accurate mixing decisions. | Opt for smaller 5-inch woofer monitors in small rooms to avoid overwhelming bass reflections. |
| Cables & Stands | Connects all hardware securely and isolates microphones from mechanical desk vibrations. | Invest in a sturdy desktop boom arm and quality XLR cables to keep your workspace clutter-free. |
Want a desk built around your gear and your room?
Red House designs custom studio desks that fit small spaces, integrate your equipment and improve your workflow.
How to treat the acoustics of a small bedroom studio
Why small rooms sound bad
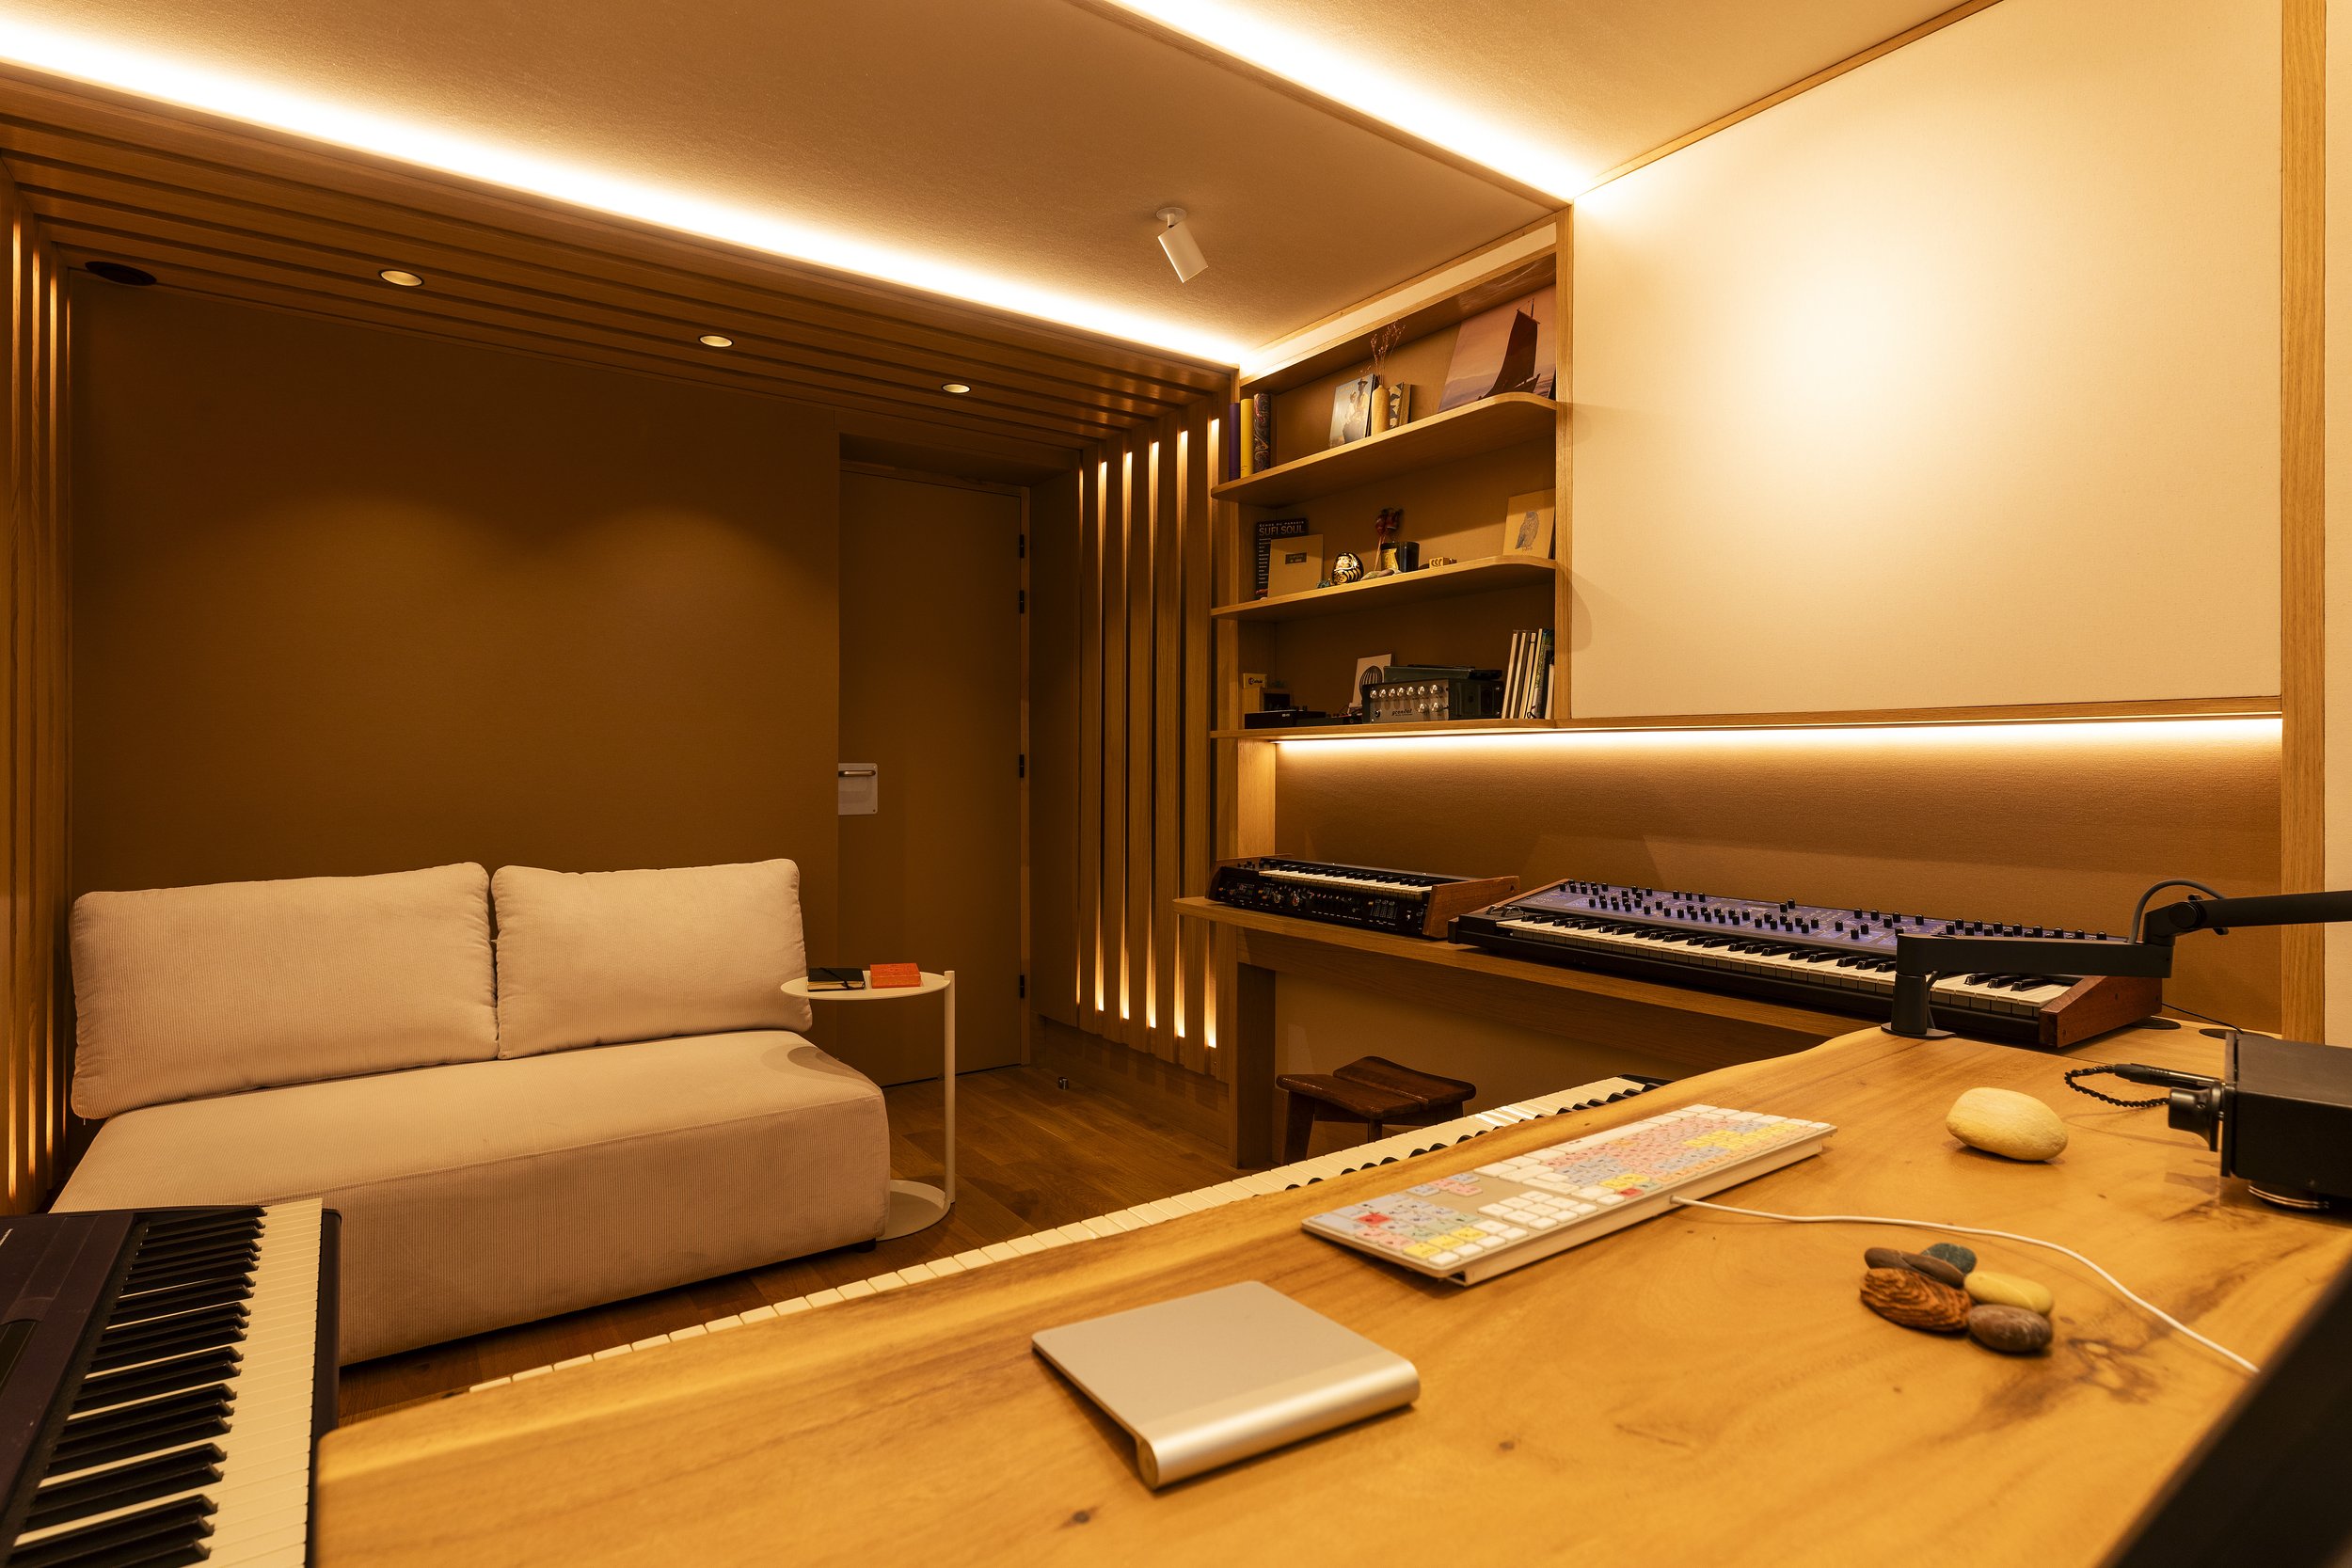
Small residential rooms present inherent acoustic challenges that can heavily distort what you hear. Low-frequency build-up occurs when bass notes accumulate in corners and boundaries, creating muddy or exaggerated low ends. Early reflections bounce directly from your studio monitors off nearby walls, desks, or ceilings into your ears, smearing the stereo image and creating comb filtering. Additionally, flutter echo happens when sound bounces back and forth rapidly between parallel hard surfaces, producing a harsh, metallic ringing sound.
Bass traps in the corners
Because low frequencies carry immense acoustic energy, they are the hardest to control in a small space. Installing thick, dense absorbent material (known as bass traps) directly into the vertical and horizontal room corners acts as the most effective defense. These traps absorb the concentrated low-end pressure waves, preventing them from bouncing back into the room and giving you a much tighter, more accurate bass response.
Absorption panels at first reflection points
To tackle mid and high frequencies as well as early reflections, place custom absorption panels at the primary reflection points on your side walls and ceiling. You can easily locate these spots by having a friend slide a mirror along the wall while you sit at your mixing position; wherever you see the studio monitors in the mirror, that exact spot needs an absorption panel. Treating these areas eliminates flutter echoes and sharpens your stereo clarity.
What furniture can (and can't) do
Soft furnishings like a mattress, a fabric sofa, or heavy curtains act as natural broadband absorbers that help damp high and mid frequencies in a bedroom studio. However, furniture alone cannot replace dedicated acoustic treatment. Soft items lack the thickness and density required to trap low frequencies or stop severe boundary reflections, meaning they serve as a helpful supplement rather than a complete acoustic solution.
Good to know
Thin acoustic foam only absorbs high frequencies. In a small bedroom, low-frequency build-up is the main problem, and it needs thick bass traps, not foam squares.
Soundproofing vs acoustic treatment: what's the difference?
Understanding the distinction between soundproofing and acoustic treatment is crucial before investing time or money into a bedroom recording setup. Soundproofing aims to isolate the room by keeping sound from entering or leaving, while acoustic treatment focuses on controlling internal reflections to make the room sound better inside. True soundproofing requires heavy mass, structural decoupling, and airtight construction, which involves major renovation work that is rarely feasible or realistic in a residential bedroom.
In a typical home setup, full acoustic isolation is practically impossible without building a room within a room. Realistically, bedroom producers must focus on effective acoustic treatment to achieve clear recordings while managing neighbor relationships through smart practical choices. Relying on closed-back headphones during late-night production, keeping monitor volumes moderate during daytime hours, and communicating openly about recording schedules remain the most effective ways to maintain peace with neighbors without needing heavy construction.
Bedroom recording studio ideas
Creating a high-performing bedroom studio requires smart organization and clever spatial design. Here are 8 proven layout and workflow ideas to help you maximize both performance and comfort in a compact space.
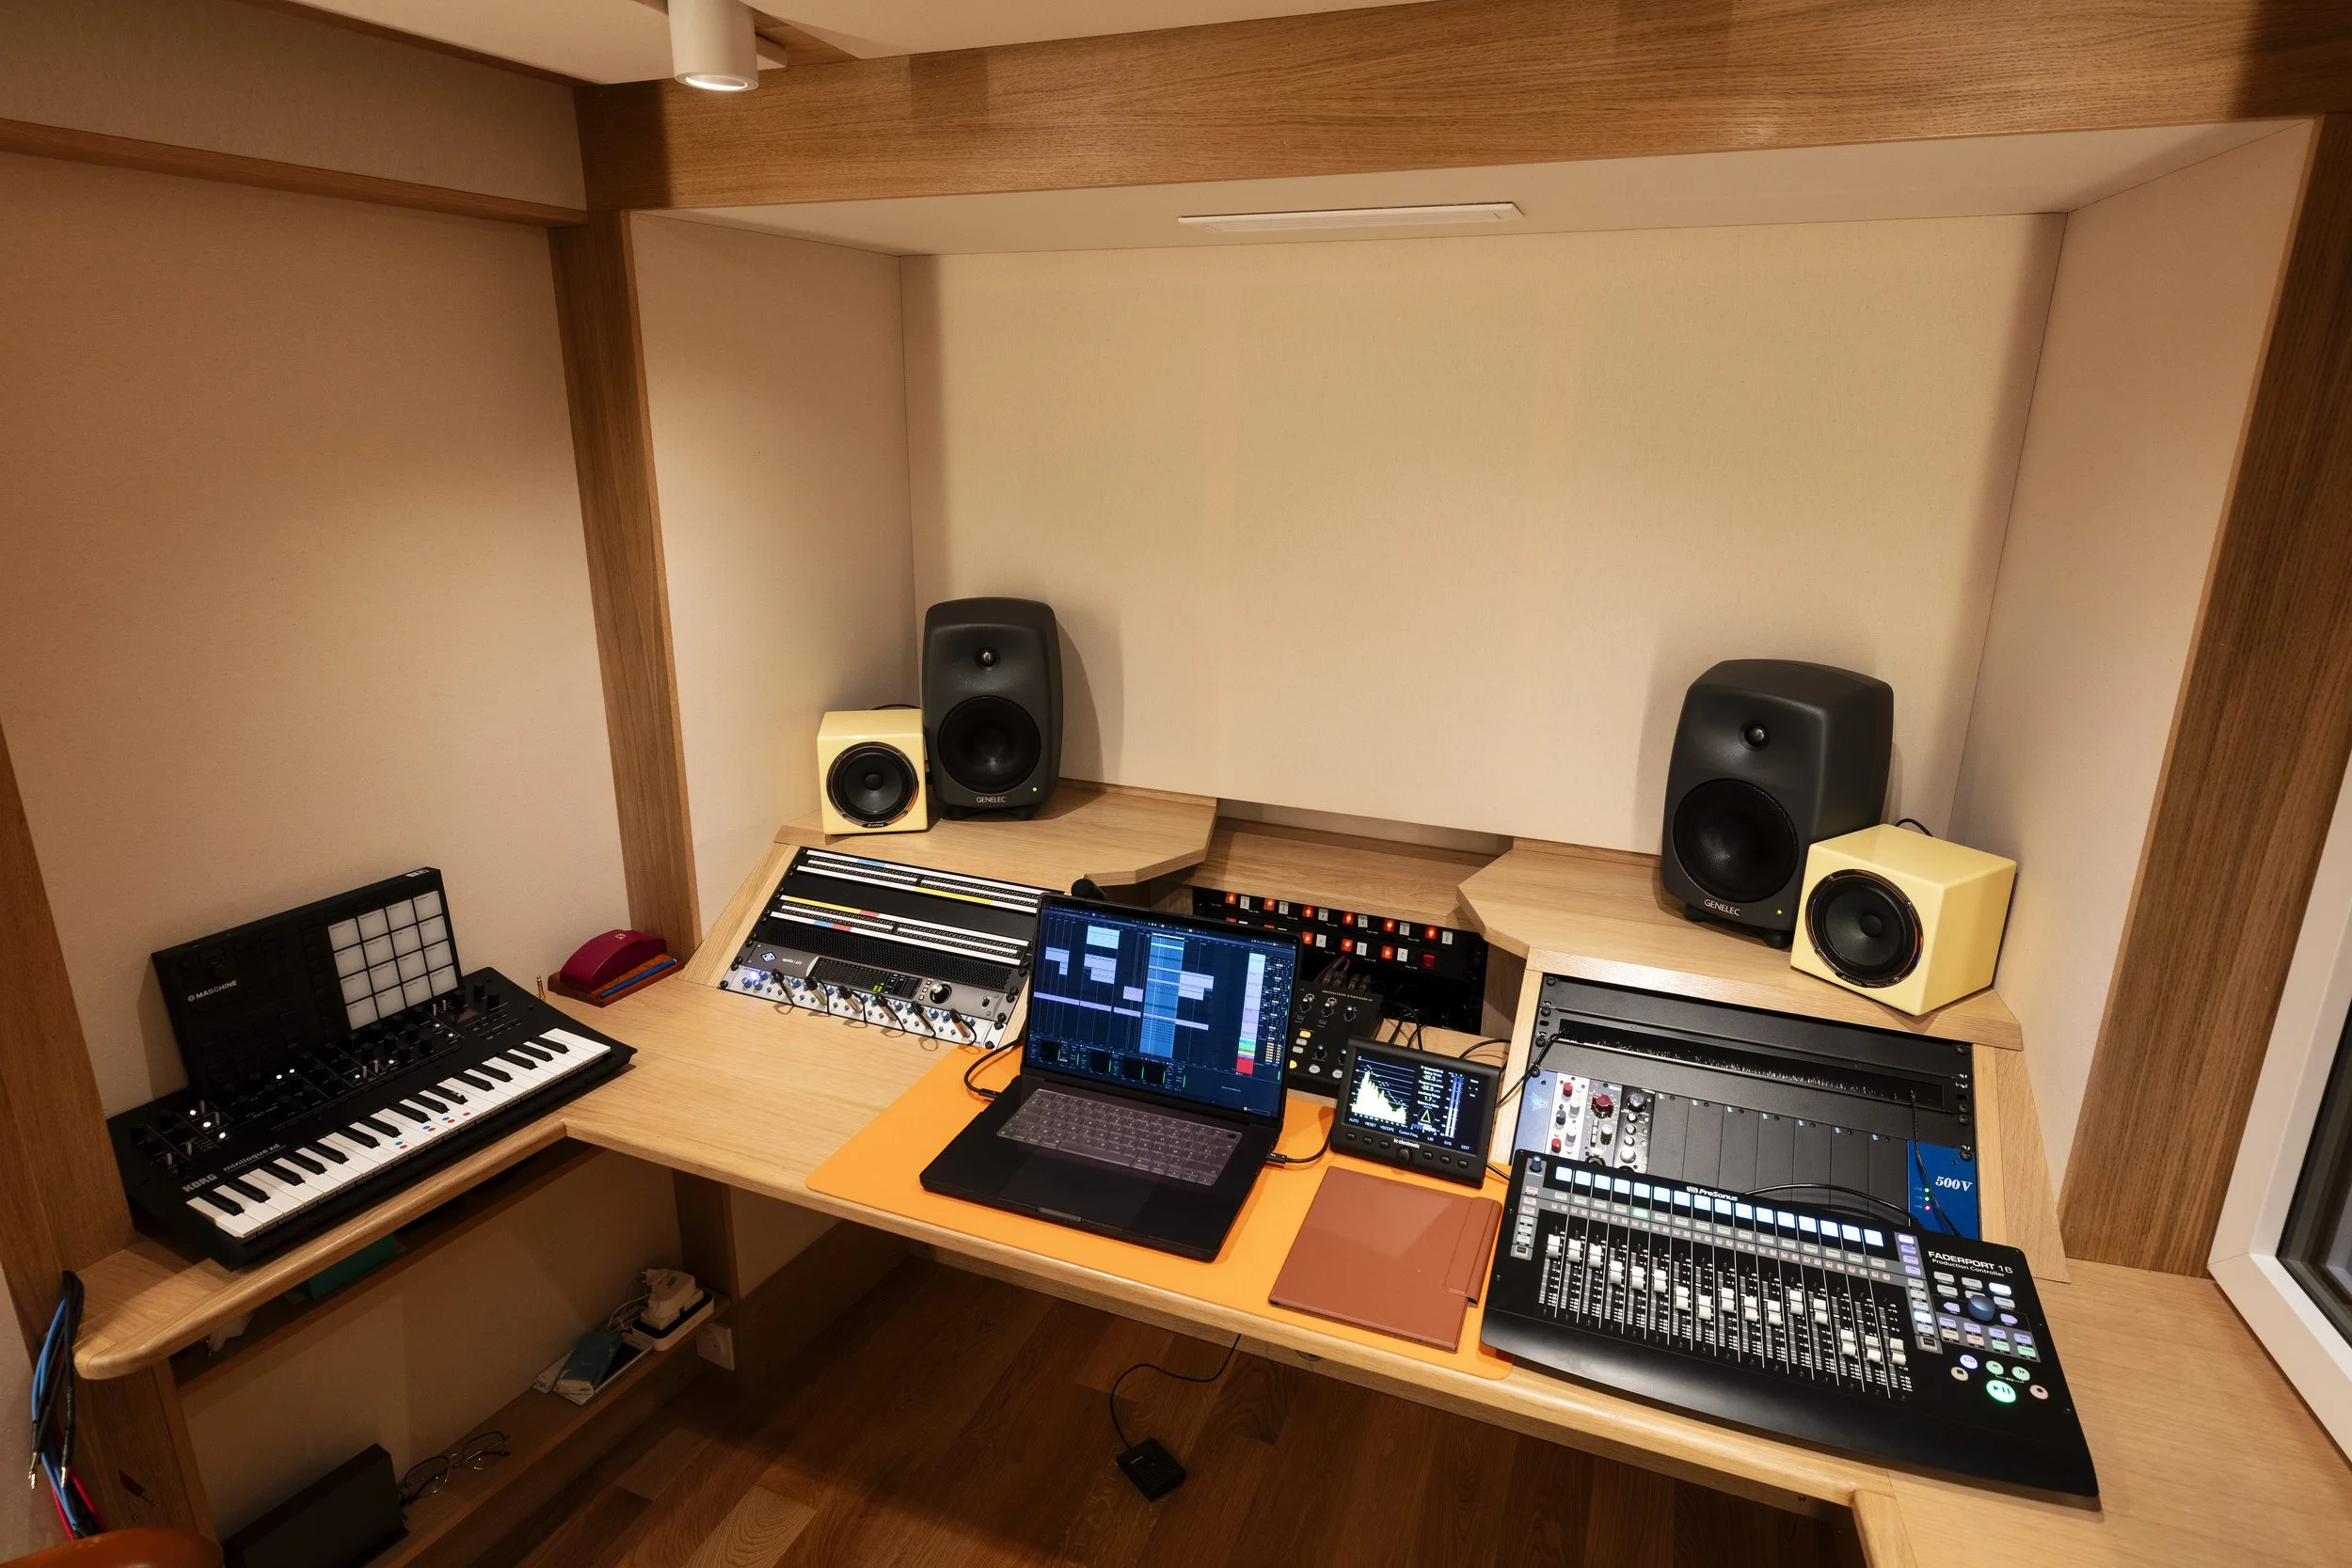
1. Compact corner workspace
Utilizing an ergonomic corner desk setup helps consolidate audio hardware, display screens, and MIDI controllers into an efficient, space-saving footprint.
Why it works: It maximizes floor space in tiny rooms while keeping all critical controls within arm's reach during production sessions.
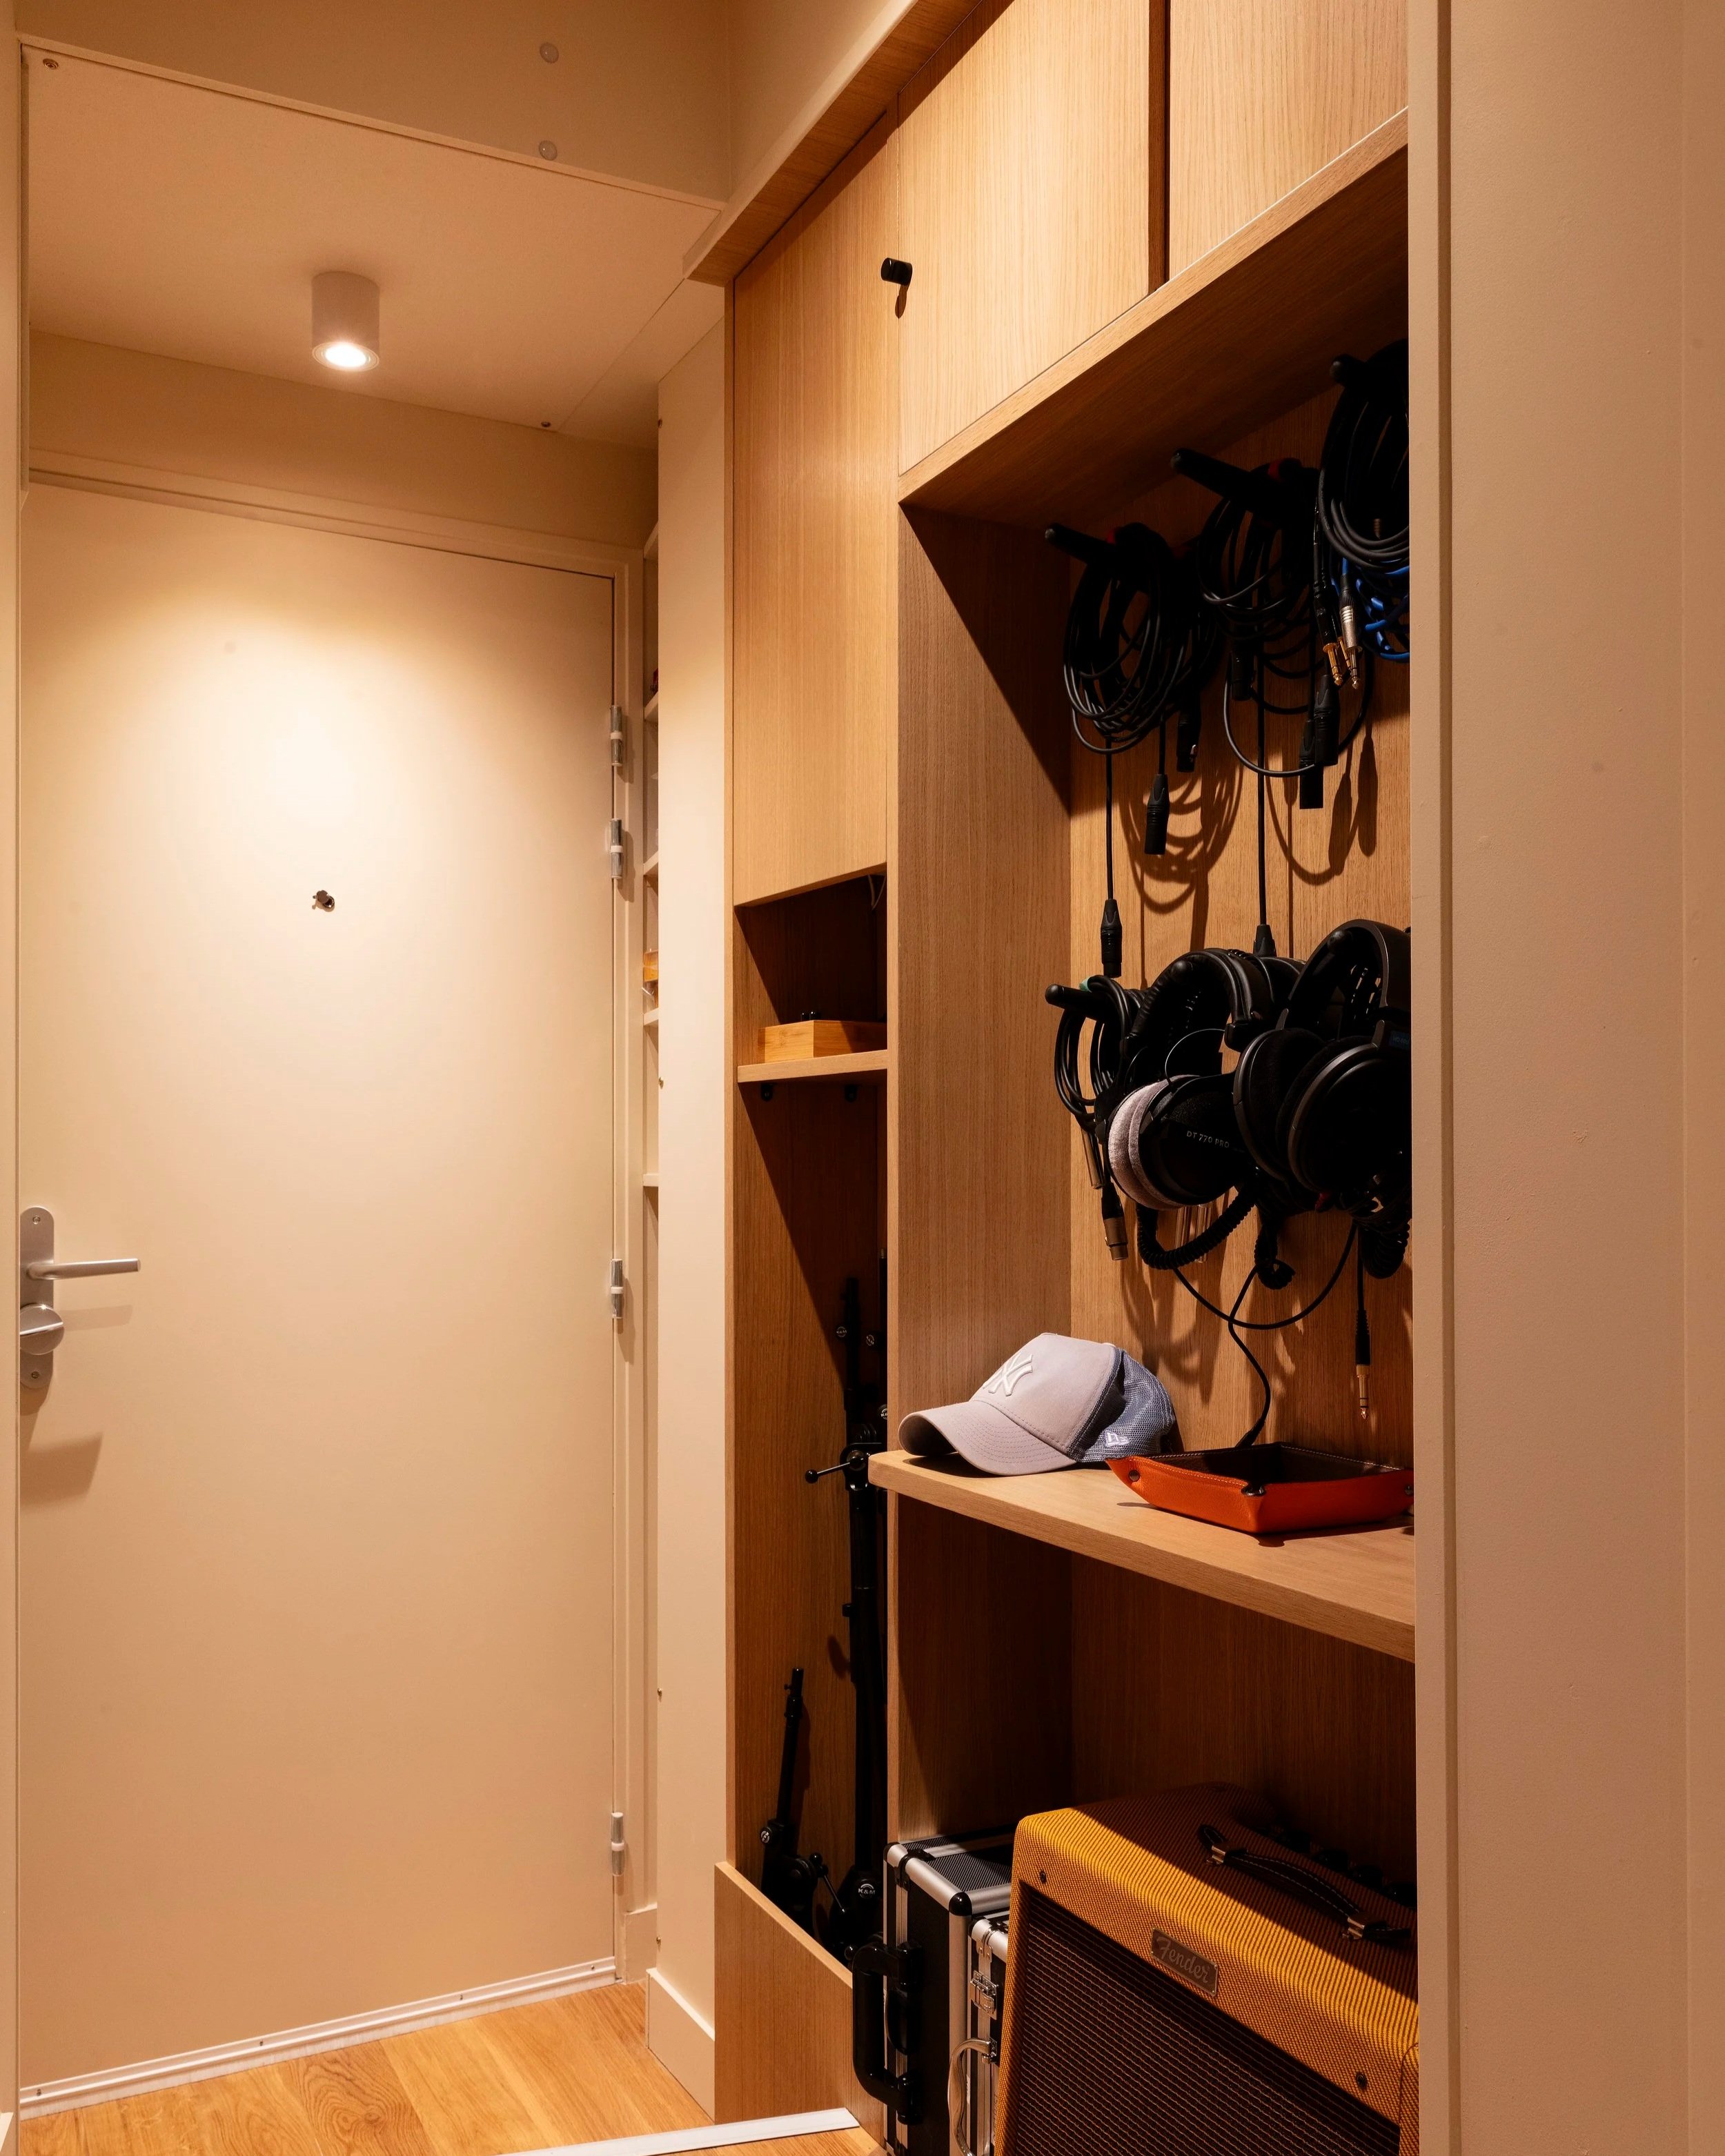
2. Vertical wall storage
Mounting floating shelves, wall racks, and pegboards above the desk allows you to clear desktop clutter by hanging cables, headphones, and small audio interfaces.
Why it works: Keeping floor and desk surfaces clear reduces physical obstacles and helps maintain an uncluttered, focused mixing environment.
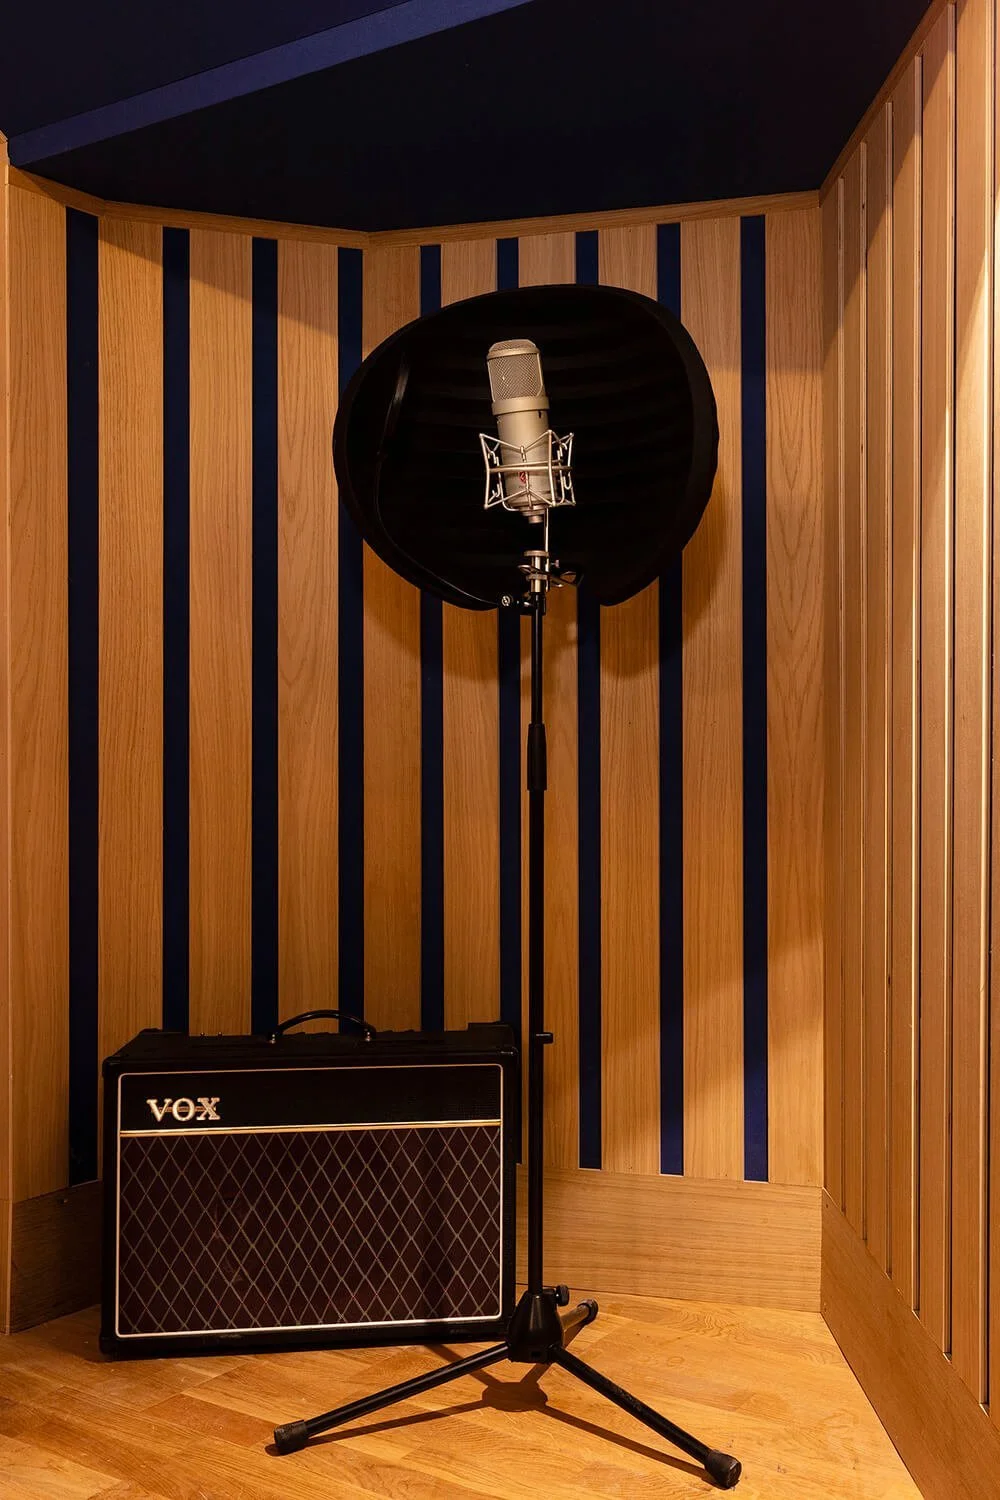
3. Portable reflection filter & vocal booth
Positioning a portable vocal shield or isolated stand-mounted reflection filter behind your microphone isolates the capsule from ambient room reflections.
Why it works: It catches rear sound waves before they bounce off untreated walls, delivering a dry, controlled vocal recording in a non-treated room.
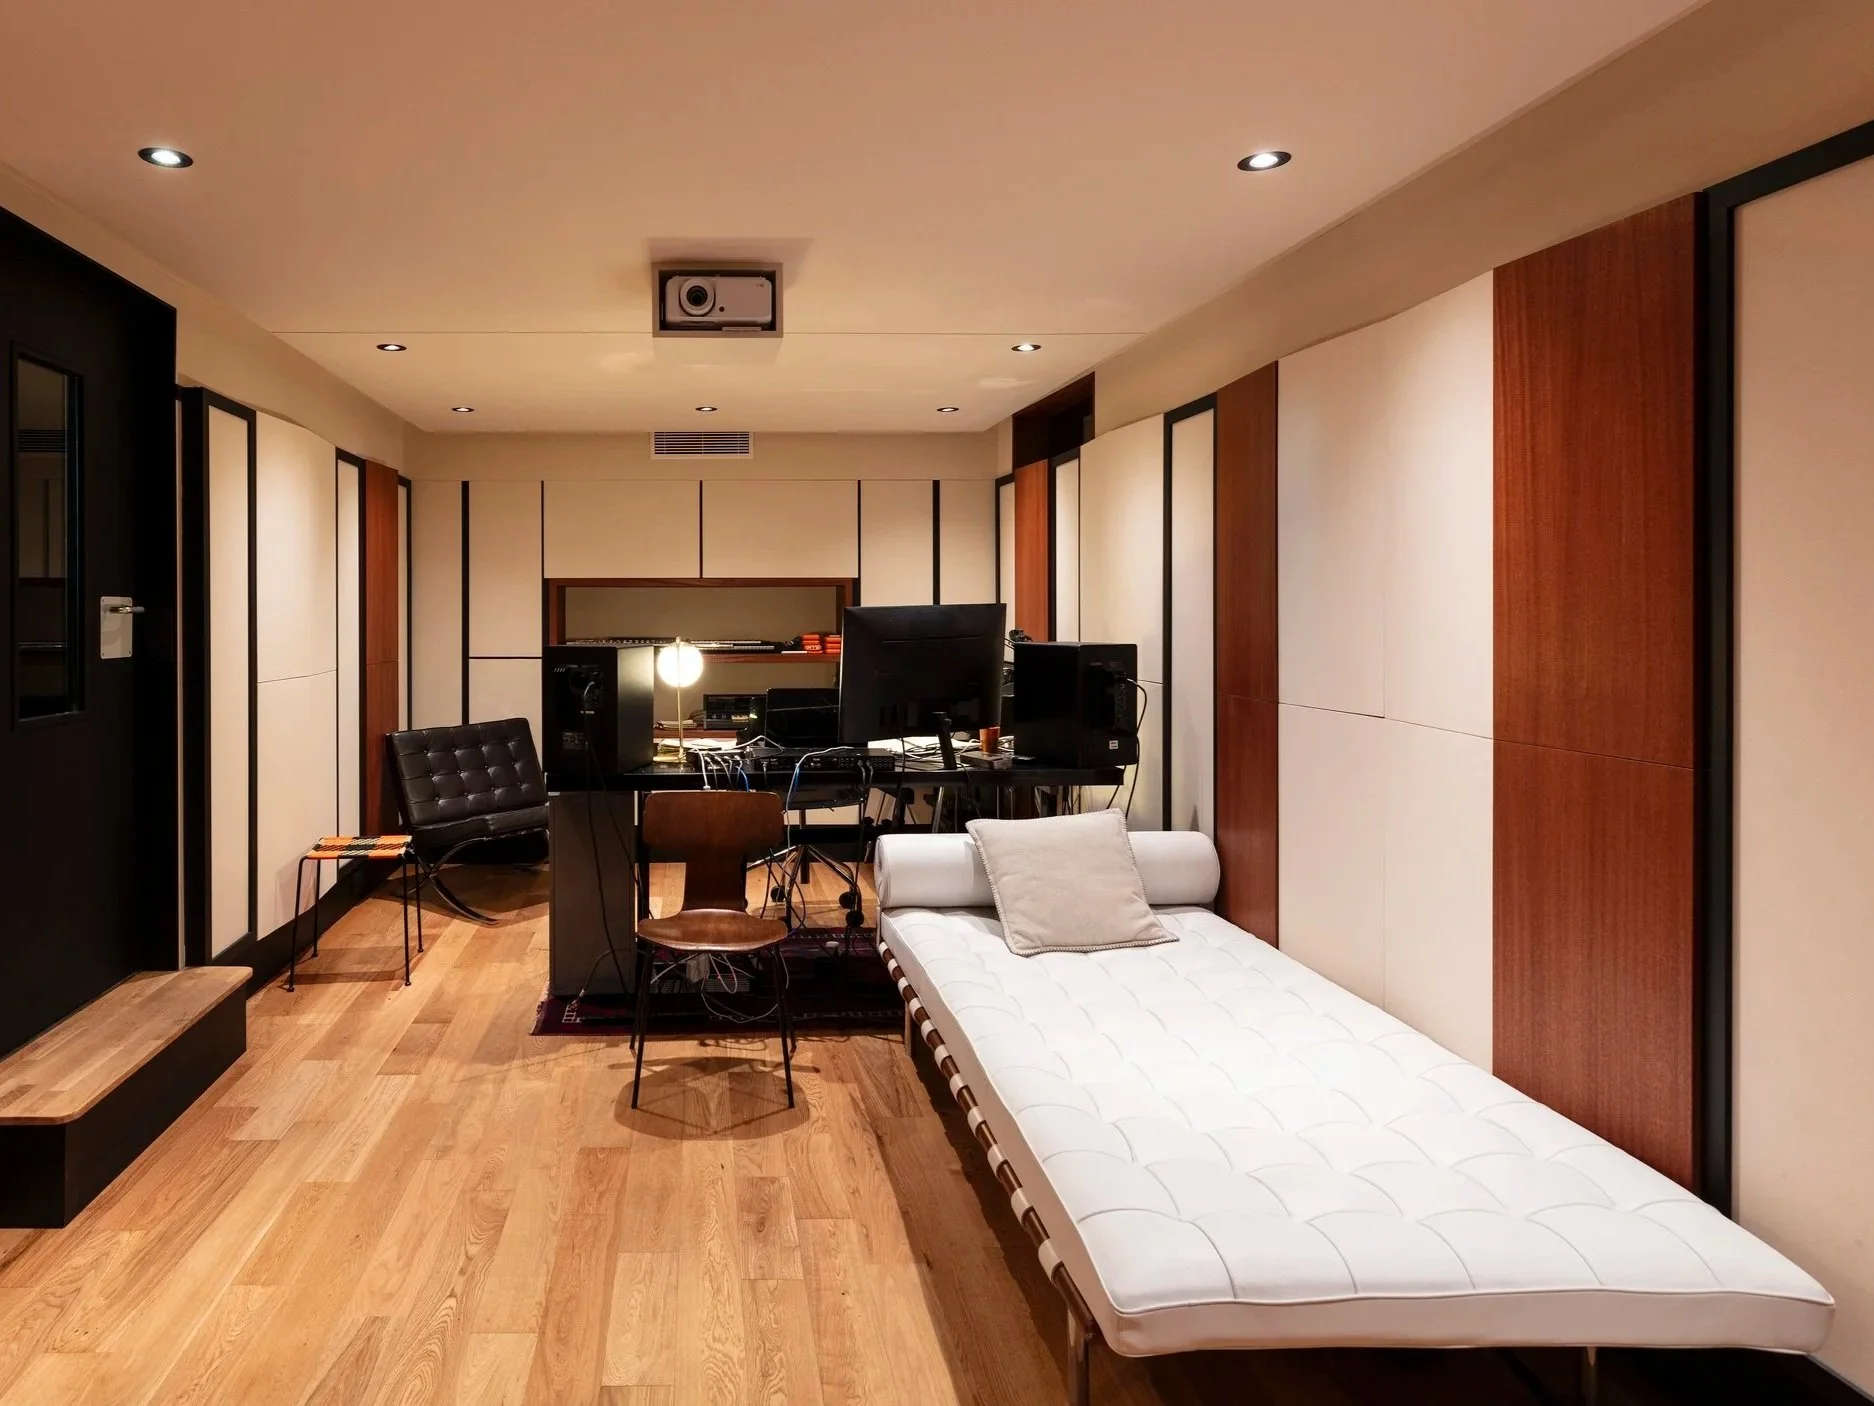
4. Strategic bed placement as a natural sound absorber
Positioning a thick mattress opposite your monitors turns an essential piece of bedroom furniture into a functional acoustic element.
Why it works: Soft bedding, mattresses, and pillows act as broadband absorbers that tame high-frequency reflections and flutter echoes naturally.
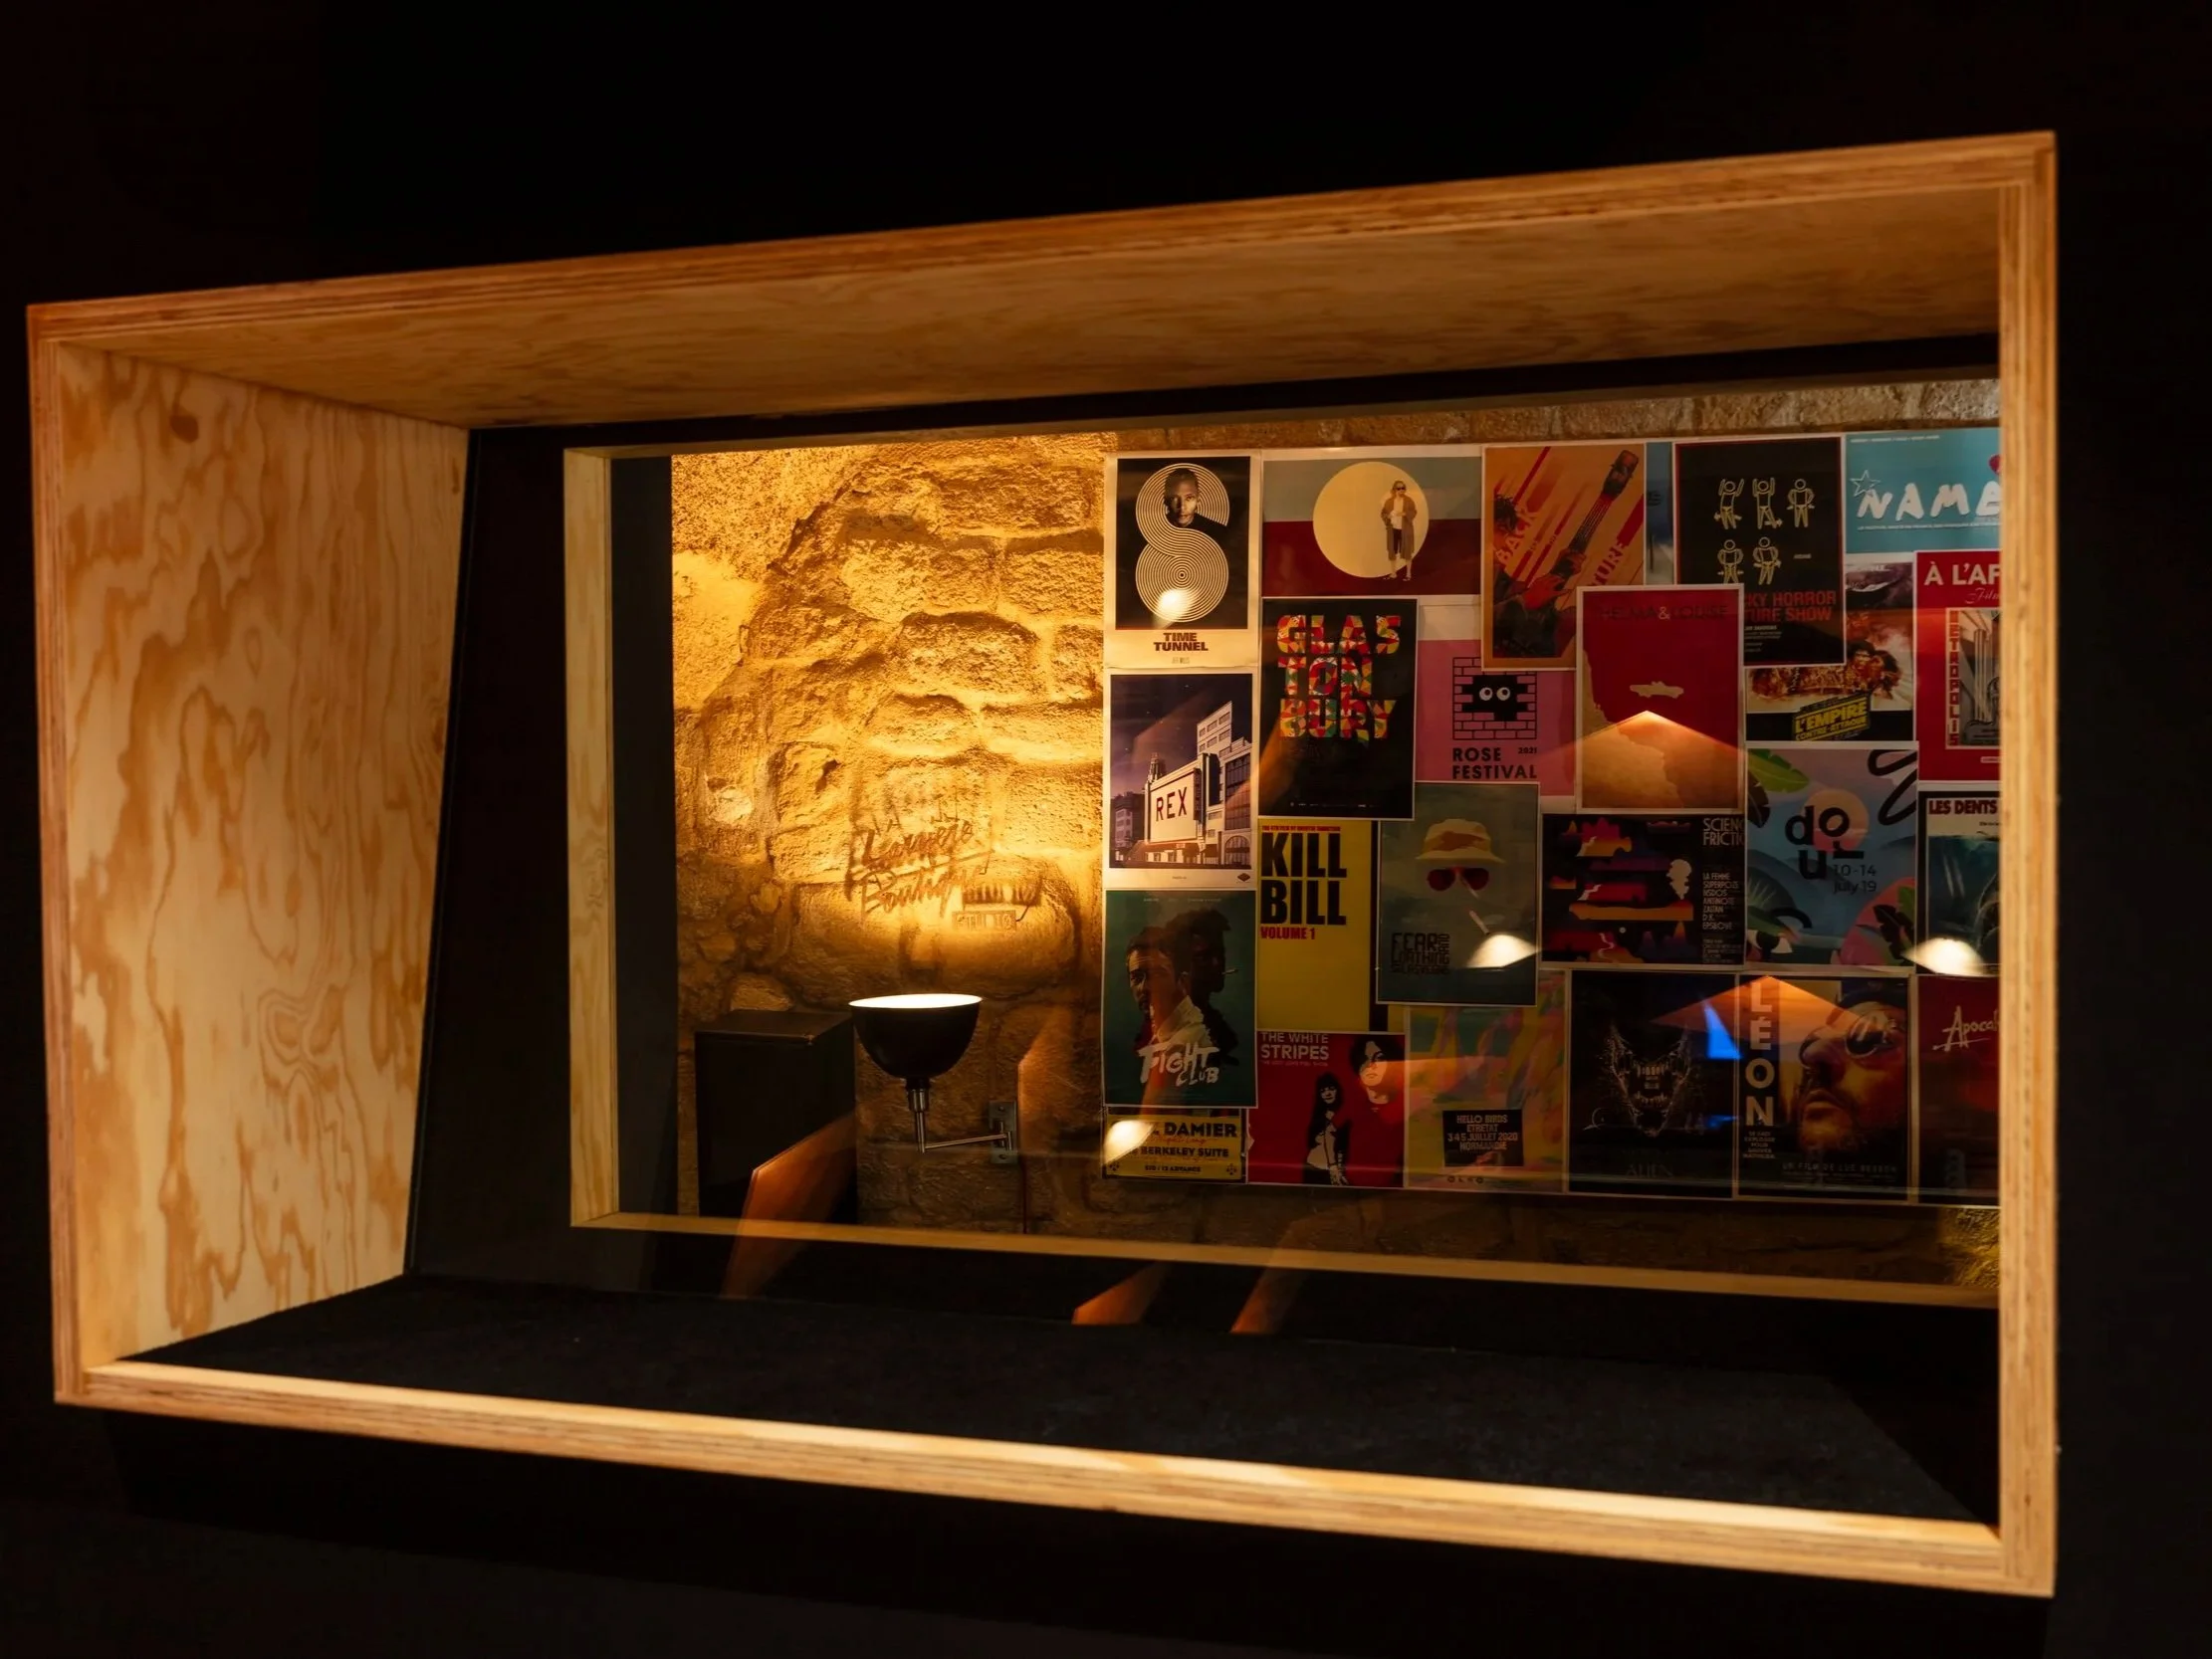
5. Mood and task studio lighting
Integrating adjustable ambient LED strips and warm task lighting transforms a basic bedroom into an inspiring creative workstation. Check out our full guide on recording studio lighting for specific setup ideas.
Why it works: Dimmable, low-glare lighting reduces eye strain during late-night sessions while setting a relaxed, professional creative atmosphere

6. Heavy acoustic curtains over windows
Installing thick, dense acoustic drapes across windows and glass patio doors blocks stray flutter echoes.
Why it works: Glass is one of the most reflective hard surfaces in a home; heavy fabric dampens reflections and prevents severe flutter echo.
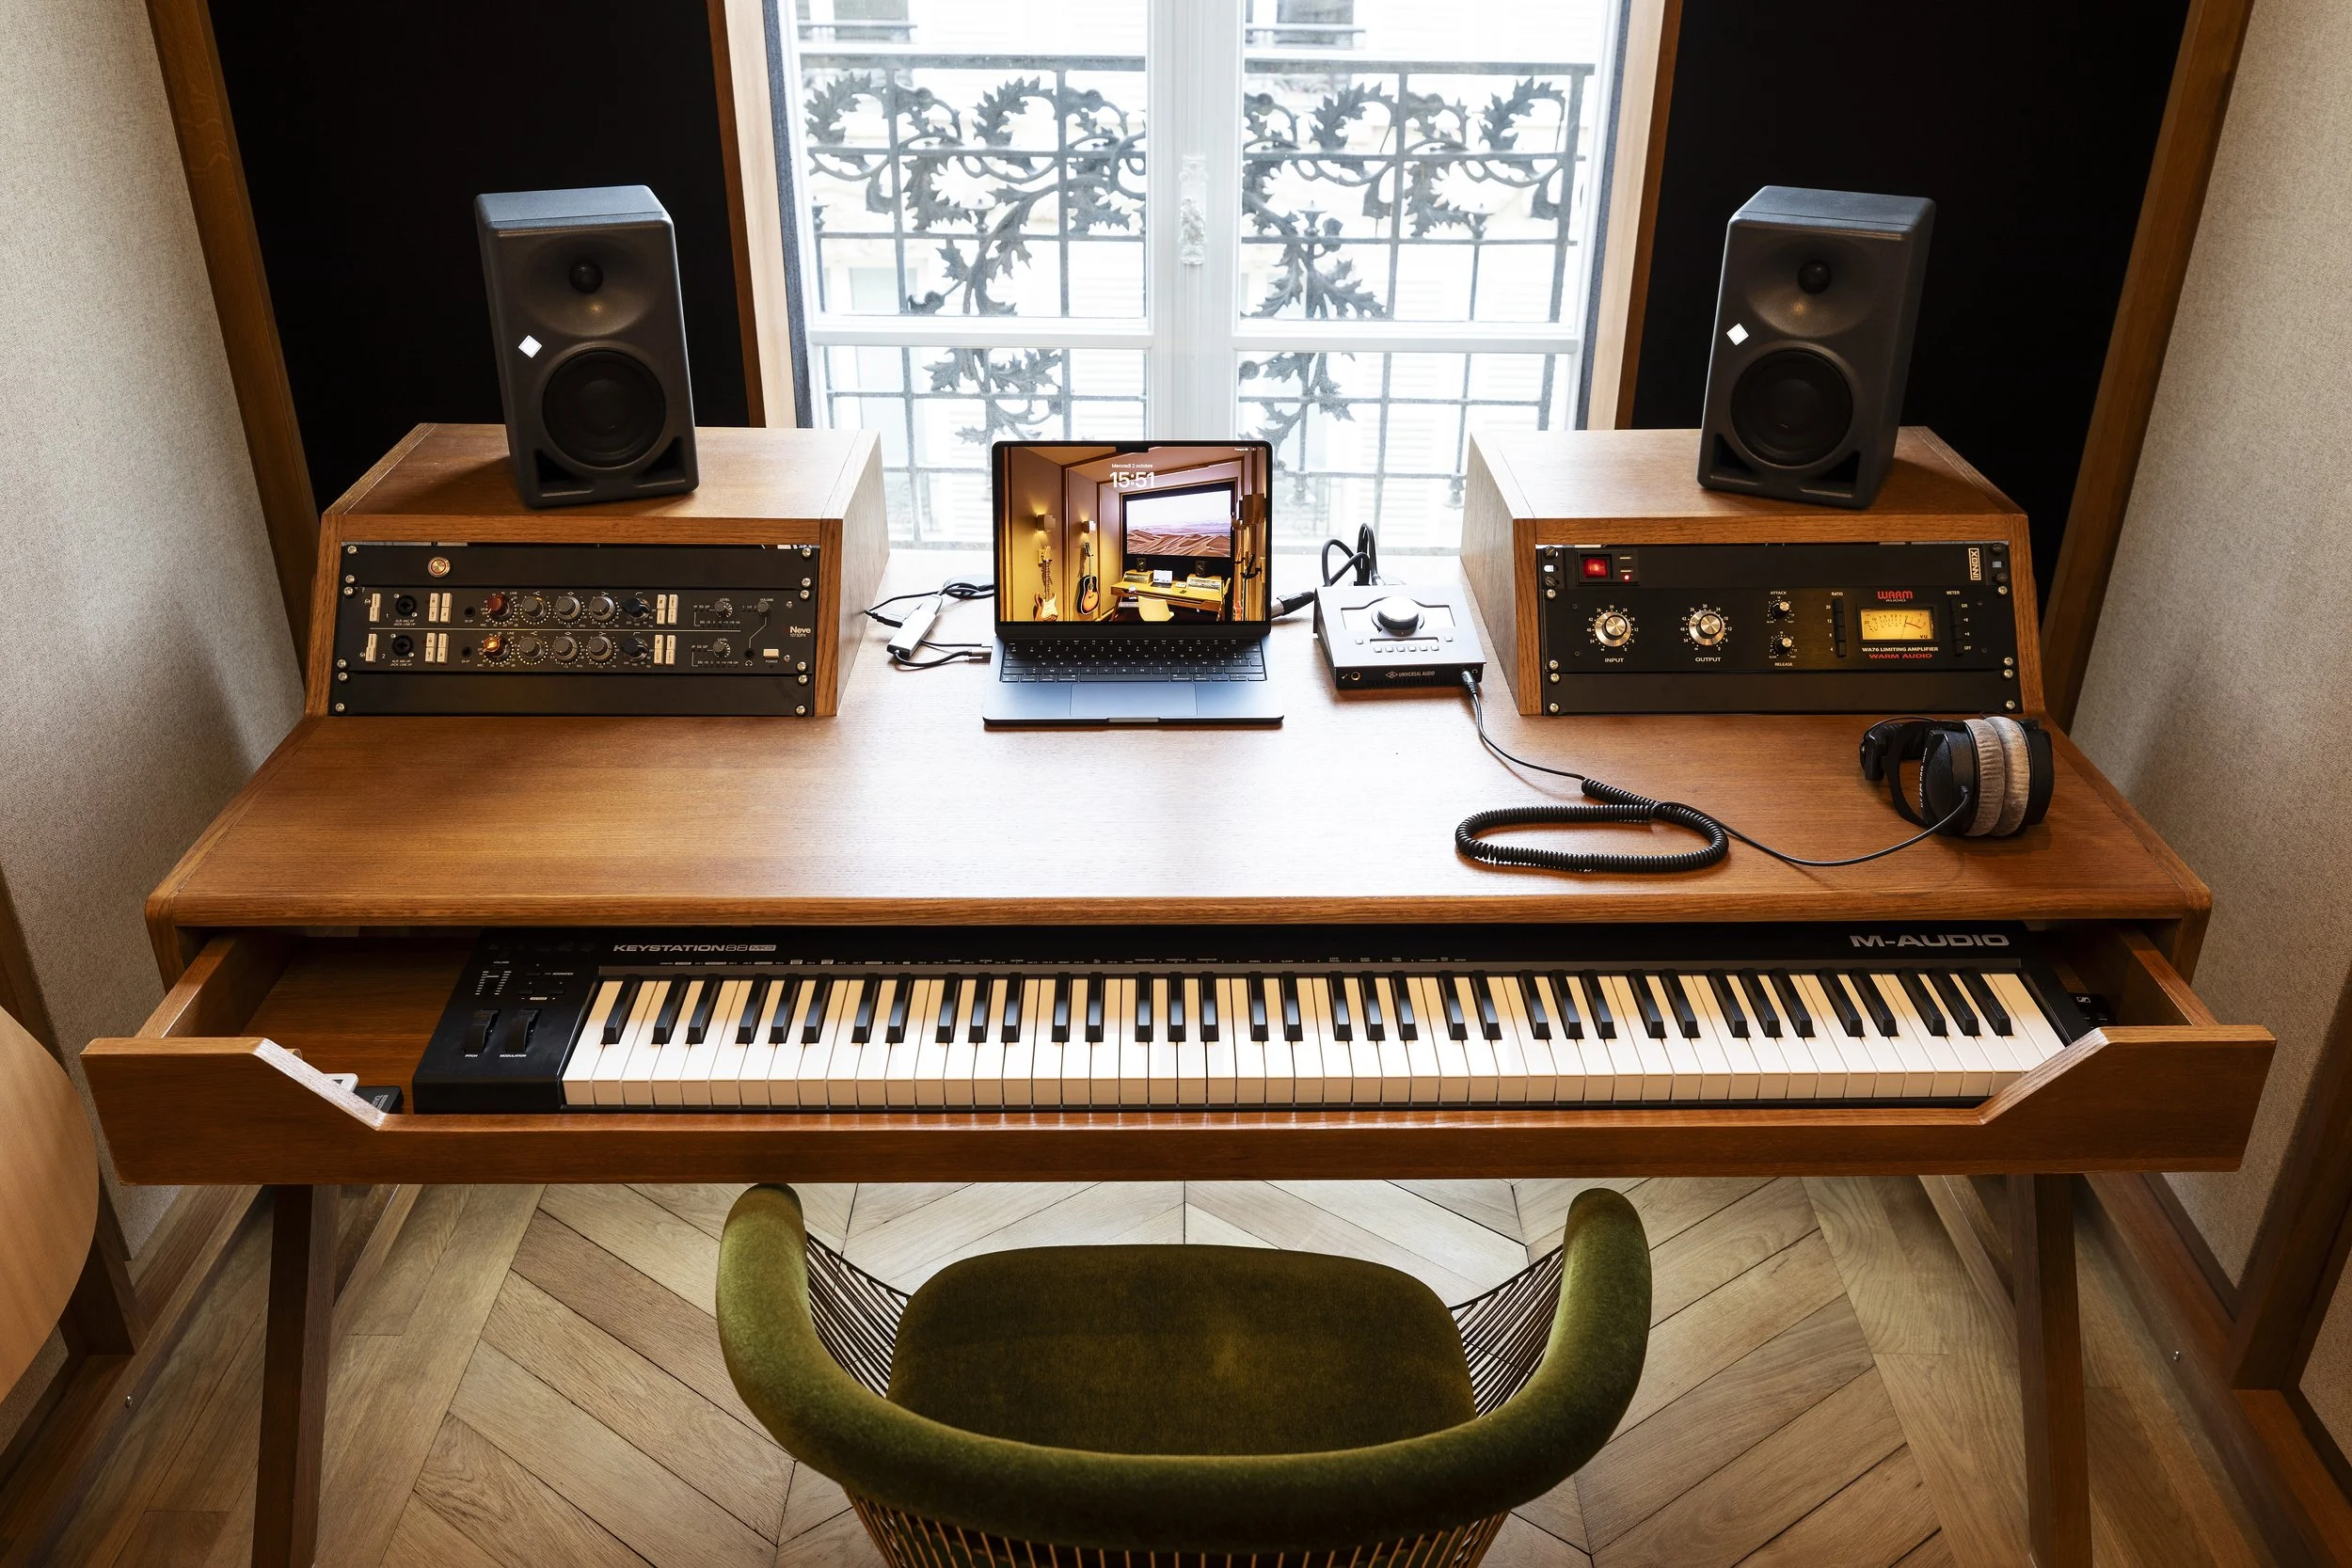
7. Under-desk equipment rack
Integrating a small 19-inch rack unit underneath your main desk keeps preamps, power conditioners, and audio interfaces organized.
Why it works: It keeps signal cables short, neat, and hidden, preserving essential desktop real estate for your keyboard, mouse, and controllers.

8. Physical zoning between rest and studio space
Using room dividers, acoustic curtains, or strategically placed furniture separates your sleeping area from your music production hub.
Why it works: Establishing distinct functional zones creates a clear mental distinction between work and rest, improving focus during sessions and relaxation after hours.
» You can also check out our guide for more recording studio ideas to inspire your build.
Ready to move beyond the bedroom?
Red House designs and builds custom recording studios, from acoustic design to final build.
Common mistakes in a bedroom recording studio
Placing the desk in a corner: Pushing your workstation into a corner creates severe, asymmetrical bass build-up and skews your stereo balance.
Asymmetrical speaker positioning: Placing monitors at unequal distances from side walls distorts left-right audio perception and stereo imaging.
Covering every wall in thin foam: Overusing thin foam deadens high frequencies while leaving muddy low frequencies completely uncontrolled.
Using a hyper-sensitive microphone in an untreated room: Large-diaphragm condenser mics pick up unwanted ambient noise and room reflections far too easily.
Ignoring low-frequency control: Neglecting bass traps allows standing waves and low-end buildup to distort mixing decisions.
Why choose Red House for your studio?
At Red House, we transform complex spatial challenges into high-performance creative environments through expert acoustic design, custom studio furniture, and full turn-key studio construction built from start to finish. Whether you need bespoke acoustic treatment tailored to a challenging room layout or custom-designed furniture that integrates your gear seamlessly, our team handles every stage of your project from initial design to final build. By combining technical precision with fine craftsmanship, Red House delivers professional, tailored studio spaces built from A to Z to meet the exact requirements of your workflow
Bedroom recording studio: frequently asked questions
-
Setting up a home recording studio varies based on your needs, whether you are building a simple home studio for beginners or a versatile project studio. Core expenses include your computer, a digital audio workstation (DAW) like Ableton, FL Studio, Logic Pro, or GarageBand, and a usb audio interface such as a Focusrite Scarlett. You will also need a dynamic microphone or condenser microphone, a mic stand, a pop filter, studio headphones, and monitor speakers. Budgeting for acoustic treatment with bass traps and acoustic panels, alongside a MIDI keyboard or MIDI controller, completes your music production and mixing setup.
-
Complete soundproofing and sound isolation to block external background noise is practically impossible in a standard recording room without heavy construction. Instead, focus on improving your room acoustics through acoustic treatment. Using absorption to control reverberation and standing waves optimizes your recording space for recording vocals, voice over, or podcasting without needing a full vocal booth.
-
The ideal recording studio space is a medium-to-large room with non-parallel walls and high ceilings to naturally absorb the low end. Small, square rooms create severe standing waves and acoustic issues for a studio setup. If you must set up in a small space, prioritize bass traps over thin acoustic foam to achieve reliable home recording results.
-
For a small home recording space, studio headphones are often best because they eliminate room reflections and ambient noise during mixing. However, using both headphones and studio monitors gives you the ideal combination: headphones for precise editing, and monitor speakers to test how your audio plugins translate in a real space.
Ready to make your bedroom studio sound professional?
Red House helps you with acoustics, custom furniture and studio design.
Sources & References
- Sound On Sound: Small Room Acoustics & Studio Setup Guide – Core principles on room modes, early reflections, and monitor placement.
- Shure: Dynamic vs. Condenser Microphones – Technical specifications and room suitability guidelines.
- Focusrite: Scarlett Series Documentation – Audio interface configuration and signal chain standards.
- EBU / AES Standards: Audio Engineering Society Recommendations – Reference listening conditions and monitor alignment rules.